3 Way Trailer Hitch Adapter: Fitment & Setup Guide
Figuring out how to properly connect a trailer hitch adapter can seem tricky at first. The key is matching your receiver’s inside opening to the adapter’s shank size exactly.
Getting this right ensures a secure fit and safe towing.
In this guide, you’ll learn the essential steps to measure, select, and install your 3-way trailer hitch adapter confidently.
Follow these simple tips to set up a safe and versatile towing connection.
What Is a 3-Way Trailer Hitch Adapter?
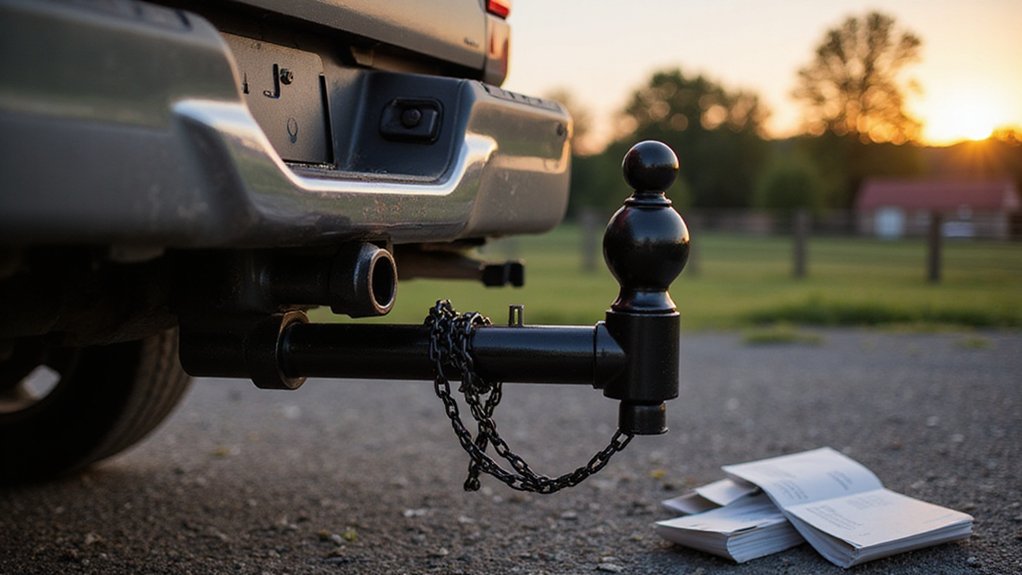
A 3-way trailer hitch adapter provides three different mounting or towing options from a single unit. It combines a trailer ball mount, a clevis or pin-hole connection, and a tow strap or chain point. These adapters are commonly designed for ATVs, UTVs, lawn mowers, and garden tractors, bolting directly onto existing equipment for added versatility. This adapter specifically accommodates balls with a 3/4-inch shank and trailer pins with a 5/8-inch diameter for secure connections. During installation, you should first confirm your equipment has the correct receiver tube size and clearance for the adapter. If you often move multiple items at once, consider how a collapsible folding wagon could simplify transporting gear to your worksite. A receiver hitch is a key component that mounts to the vehicle’s frame to accept these adapters, ensuring a stable towing platform.
Proper trailer safety starts with never exceeding the lower load capacity between your vehicle and the adapter. Many adapters are rated up to 3,500 pounds, but it’s essential to check your specific model’s ratings. Constructed from steel and often finished with powder coating, these adapters offer durability and rust resistance. Installation involves straightforward bolt-on mounting; some models also allow drilling for locking hardware to prevent unwanted rotation under load. Ensuring the correct hole size and ball type is critical for secure attachment and safe operation on every task.
How to Match Adapter Shank to Your Receiver
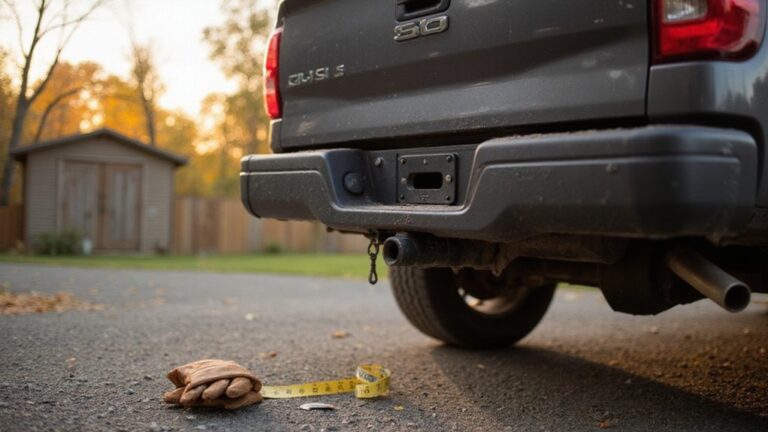
To match an adapter shank to your receiver, measure the inside opening of the receiver from edge to edge, not corner to corner. The measurement should give you the true size: 1-1/4 inches, 2 inches, 2-1/2 inches, or 3 inches. It’s important to verify the accessory shank’s diameter and ensure the pin-hole alignment matches after insertion. Mismatched holes mean forced fits, which can be unsafe during towing. The CURT 45405 is constructed from high-strength carbon steel for durability. For trucks with a larger cargo area, bed extenders can help secure longer items when the tailgate is down. Common receiver hitch types include Class III and Class IV which correspond to different receiver openings and towing capacities. For heavy loads, always consider the dolly’s weight capacity to avoid overloading your setup.
Use these compatibility tips: a 2-inch receiver accepts 2-inch shanks directly. If you’re using a reducer, such as 2-1/2 inches to 2 inches, check that the sleeve’s outer size matches and fits properly. Never force a smaller shank into a larger opening without the appropriate adapter, as this can damage components or cause failure. Also, check the load ratings of adapters, since they do not increase your hitch’s maximum capacity. Always confirm full insertion and secure pinning before towing to ensure safety.
What Installation Mistakes Overload the Adapter?
Overloading your adapter often results from incorrect installation practices. One of the main causes is over-torquing spring bars or chain hardware. This can quickly stress the adapter beyond its capacity, especially if you do not base tension on measured vehicle and trailer heights. Relying on guesswork instead of proper measurements can lead to unequal load distribution and overloading. Proper weight distribution setup relies on calculating the halfway point between unloaded and coupled measurements to balance the load. Using incorrect hardware or applying improper torque to fasteners also causes parts to shift and concentrate stress on particular areas, increasing the risk of overload. It’s essential to select hardware rated for your trailer’s weight and to tighten fasteners to manufacturer specifications. Before beginning any installation, confirm the adapter fits securely without movement, just as you would when checking a bed extender’s mounting points. You should also check that the strap tension is set correctly, because incorrect tensioning can inadvertently apply uneven forces to the adapter. Proper tensioning involves avoiding the common mistake of over-tightening, which can create uneven load distribution across the assembly.
Choosing a weight-distribution setup that is too small or too large for your load can overload the adapter. An undersized setup may not provide sufficient transfer of weight, while an oversized system can add unnecessary stress. Always verify that your setup matches the trailer’s weight capacity. Taking accurate ground-to-fender measurements before and after coupling is a critical safety step that mirrors the baseline checks used when fitting a truck bed extender.
Failing to take baseline measurements removes the necessary reference points to confirm proper weight transfer. Visual leveling alone can hide excessive load transfer, so always measure actual heights and load distribution. A final inspection of all pins, clips, and fasteners helps prevent loose components from causing sudden shifts during travel.
Finally, remember that sudden tugs or jolts create dynamic loads. These can cause overload even if your normal load seems within safe limits. Always check that your adapter, receiver, hitch, and trailer ratings align regularly, especially when load conditions change.