How to Loosen Ratchet Straps: Quick & Easy Instructions
If you’ve ever struggled to loosen a stuck ratchet strap, you’re not alone. Removing tension and freeing the webbing can sometimes be tricky, especially if the strap is tight or jammed.
Luckily, there are simple steps you can follow to release the strap safely and easily. By understanding how to operate the release mechanism and handle any jams, you’ll be able to loosen your ratchet straps in no time.
Keep reading for all the details.
Find the Release Lever, Then Open the Ratchet Fully
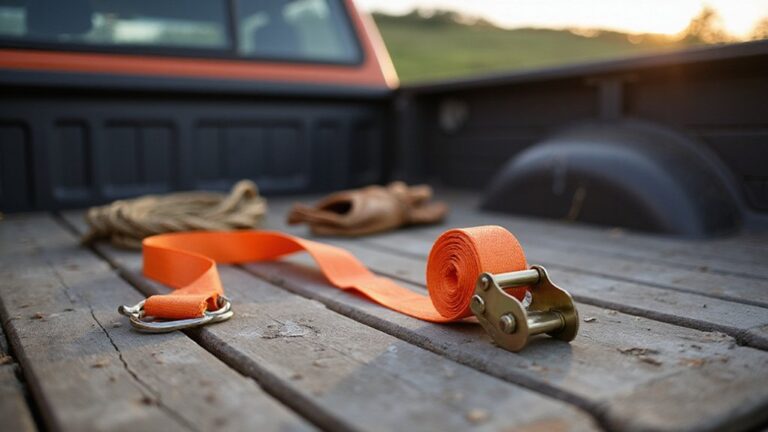
Locate the release lever first. It is a small, spring-loaded metal piece usually found inside the main handle assembly, often centered on the movable top section. Press it firmly with your thumb to override the internal locking mechanism. Ensure the lever is free of corrosion or obstructions, as debris can hinder its function. Wear gloves to protect your hands from pinching or sharp edges. While keeping the lever pressed, lift the handle beyond its normal cranking position. Do not stop at partial opening; fully open the ratchet until both halves are nearly flat, around 180 degrees. This action disengages the pawls and releases tension. You will feel a loose sensation in the mechanism, confirming that the gears are no longer engaged and the strap is free to be removed. Fully opening the ratchet is essential because it mimics the proper disconnection procedure used to safely unwind the strap and avoid damaging the cargo or hardware. For a safer approach, always check that the strap is not twisted before attempting to release the lever fully. Using a furniture dolly can help stabilize heavy loads while you manage the strap tension. If you are working near a vehicle or trailer, consider using a collapsible wagon to transport your tools and spare straps to the job site with minimal effort.
Squeeze the Lever While Lifting the Handle to Unlock
To unlock the handle, squeeze the spring-loaded release lever while lifting the handle upward in one smooth, deliberate motion. Keep the lever fully depressed with your thumb or finger throughout the movement to disengage the lock. Maintain a firm grip on the handle with your other hand and lift steadily, avoiding excessive force. This combined effort allows the handle to pass beyond its normal ratcheting range, freeing the internal mechanism. This technique is effective because ratchet straps are commonly made from high-strength polyester webbing that requires precise tension control. You will feel the resistance release as the handle moves freely. Do not stop prematurely; continue opening the ratchet until it lies nearly flat. The key is to keep the release lever squeezed the entire time—you must not release it early or the lock will re-engage. Use a controlled, smooth motion to prevent jamming or damaging the hardware. Once the handle is fully open and the spindle is free, you can proceed with the next steps. This method effectively overrides the lock without causing damage. For challenging jobs that require moving heavy loads, a heavy duty utility cart can provide stable support while you prepare your tie-downs. Before operating the strap, ensure the truck bed extender is securely mounted to prevent shifting during release.
Let the Strap Unwind Slowly to Avoid Snap-Back
To prevent the strap from snapping back suddenly, unwind it in controlled, incremental steps. Keep a firm grip on the free end of the webbing to maintain control as tension drops slowly. Guide the strap smoothly through your hand, avoiding jerks or quick releases that could cause recoil. Instead of forcing a rapid pull, release tension gradually by easing the webbing in small, steady motions. This method significantly reduces the risk of snap-back, protecting both you and your equipment. For similar safety considerations, heavy-duty equipment often uses polyurethane or rubber caster wheels to balance durability and controlled movement. Unlike cam straps, ratchet straps rely on a mechanical locking mechanism that can release stored energy abruptly if not handled carefully. Selecting a model with high-quality components helps ensure smoother and more reliable operation during use. If the strap begins to move too quickly, pause and reset your grip. Always keep your fingers clear of its path during relaxation to avoid pinching or injury. Clear the work area of obstacles and bystanders to contain any unexpected movement. Patience is key; using multiple small releases prevents jerks and tangles. Following this controlled approach ensures safety and prevents damage from sudden recoil whenever handling webbing or straps.
Pull the Loose Strap Free Through the Spindle Slot
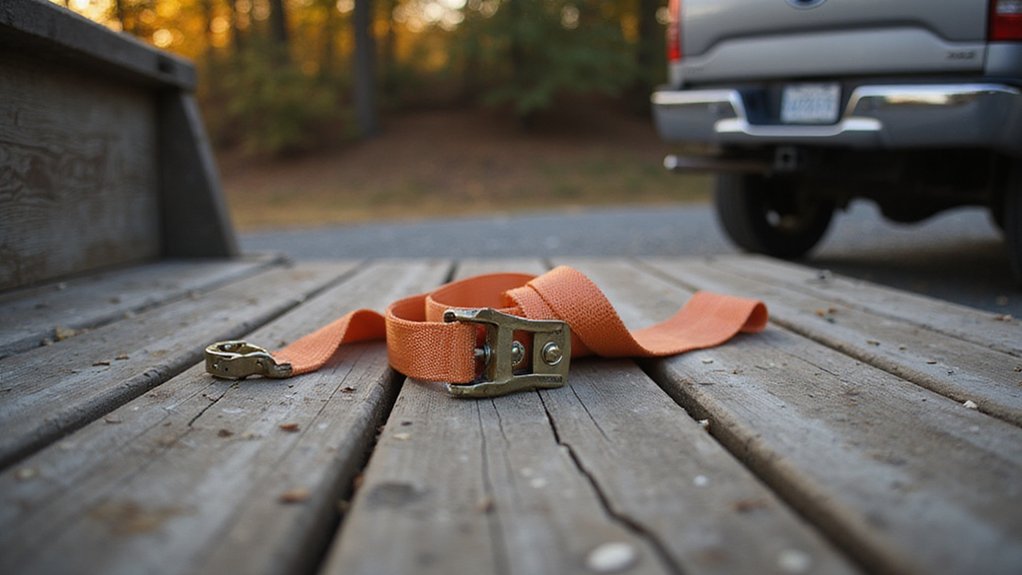
Pull the loose strap free through the spindle slot. To pull the loose strap free through the spindle slot, start by unwinding the strap and ensuring there is slack. Fully open the ratchet by pressing the release lever and laying the handle flat or slightly past its locked position. This action exposes the spindle slot and disengages the locking mechanism. Next, pull the loose strap back through the center slot from the adjustable side, keeping the webbing straight and aligned with the opening. Avoid twisting the strap, as this can cause binding and make removal more difficult. When transporting heavy loads, selecting a heavy duty dolly ensures stable support that prevents strap damage during moves. Draw most of the slack through by hand, leaving only minimal slack for free movement. The wheelbarrow design evolved from ancient single-wheeled carts to improve manual load carrying. If resistance occurs, do not yank the strap. Instead, use a controlled and gentle pull, especially if corrosion has roughened the fabric. Be sure that the tension is fully released before attempting extraction. Remember, you’re removing it manually—do not force the handle. Always check the hand truck frame for cracks or damage before beginning the strap release process. Once the loose end clears the spindle, the process is complete and the strap is free. Using the release mechanism for quick and safe disassembly prevents damage to the strap and ensures a smooth extraction.
Free a Jammed Ratchet With Back-and-Forth Movement
To free a jammed ratchet handle that won’t budge, work it back and forth with gentle, small oscillating motions instead of yanking in one strong pull. Moving the handle slightly forward and then reversing direction helps dislodge a binding pawl or debris stuck in the gear teeth. Keep the pressure on the release lever during this process to prevent the mechanism from re-locking. Pairing this movement with gentle shifting of the webbing reduces strap tension that may be holding the ratchet tight inside. If the jam persists, apply a light lubricant to pivot points and continue the back-and-forth motions to help spread the lubricant evenly. Forcing the handle can damage internal parts, so resist the temptation to pull hard. If the strap remains seized, it likely indicates over-tightening or tangled webbing, which needs further inspection. To prevent future jams, always ensure the webbing is flat and untwisted before tightening. For optimal access during repairs, you might transport the assembly using a top lawn mower cart for easy yard maintenance. For spool jams, inserting a tool into the slot near the spool’s center shaft allows you to spin the shaft counterclockwise to backwind and release tension. For particularly stubborn jams, consider using a garden cart with seat to transport the assembly to a workbench for better access.
Stay Safe: Stand Clear and Inspect Before Reusing
Before reusing a ratchet strap, you must thoroughly inspect the entire assembly while standing clear of the load. Start by checking the identification tag: if it’s missing, faded, or torn, retire the strap immediately. Never guess the rating—any strap with unclear markings should be replaced to ensure safety.
Lay the webbing flat under good lighting. Examine each inch for cuts, fraying, burns, or UV damage. Reject straps showing mold, stiffness, or chemical stains. Next, look at all stitching for broken or loose threads. Damaged seams weaken the strap’s strength, so remove it if you find any issues. Also, inspect all hooks, ratchets, and D-rings for cracks, corrosion, or bending. Make sure they move smoothly without binding or resistance.
Only reuse the strap after a final check for knots or twists. If anything seems suspicious or unsure, do not take the risk—replace the strap. Keeping clear of the load during tensioning and reusing only equipment in good condition helps maintain safety and prevent accidents.