How to Use Ratchet Straps: Complete Step-by-Step Guide
Ever wondered how to secure your cargo safely with ratchet straps? These versatile straps can keep your load tight and stable, but only if used correctly.
By understanding the proper steps, you can avoid accidents and ensure everything arrives intact. Keep reading, and you’ll learn a straightforward, reliable method to master ratchet strap use from start to finish.
Choose a Strap Strong Enough for Your Cargo
Choosing a strap with an appropriate working load limit (WLL) is crucial for your cargo’s safety. The WLL should match or exceed the weight of the load you’re securing. Remember, the WLL is typically about one-third of the strap’s breaking strength, so pick a strap designed for heavier loads. For light weights, a 1-inch strap may suffice, but for heavier equipment, you’ll need at least a 4-inch strap. Always verify that your entire system—hooks, ratchets, and webbing—can handle the maximum load, not just the webbing. Using strong webbing alone isn’t enough if the hardware can’t support the load. Incorporate a safety margin because strap tension can increase significantly during braking, sometimes surpassing static weight. Federal regulations recommend a total WLL at least half of your cargo weight, but for added safety, match the strap to the full load. Avoid inexpensive options; investing in reliable, well-rated straps ensures your cargo stays secure. For perspective on durable hauling gear, collapsible folding wagons can also simplify transporting heavy loads without the need for strap tension calculations. For securing larger items like bicycles, a receiver hitch carrier can provide a stable platform without taxing your strap system. To further ease the moving process, consider using a furniture dolly to support heavy items while you focus on securing them with the correct straps.
Inspect the Webbing, Hooks, and Ratchet Teeth
To ensure safety, carefully inspect the webbing, hooks, and ratchet teeth of your strap. Check the webbing by running it through your hands for cuts, frays, melted spots, fading, stiffening, or chemical stains that indicate degradation. Examine all stitching near the hooks; broken threads mean the strap should be replaced.
Inspect the hooks for any bends, cracks, or an open mouth that could fail under load. Look closely for rust, pitting, or rough surfaces—heavy rust or distortion are serious defects that compromise strength. Replace any hardware showing signs of corrosion or deformation. Top models prioritize durable ratchet components to ensure long-term performance under heavy use.
Test the ratchet by engaging the pawls with every ratchet tooth to ensure full engagement. Move the handle smoothly without skipping teeth. If the ratchet slips or cannot lock securely, remove and replace the strap immediately. Only use straps that pass all these inspections to guarantee safe operation. For heavy or awkward loads, consider using a stair-climbing hand truck to reduce strain and improve stability during transport. For guidance on selecting the best models, review a comparison of top-rated straps to find hardware designed for reliability and ease of use.
Position the Load and Find Rated Anchor Points
To properly position the load and find rated anchor points, start by placing the load with its center of gravity low and close to the deck. This helps maintain stability during transit. Identify anchor points that are explicitly rated to handle the full working load limit, not just any metal loop or edge. Use designated tie-down points such as D-rings, stake pockets, or rub rails, which are engineered to withstand the forces involved. Avoid thin sheet metal or trim pieces, as they tend to deform under stress and cannot reliably secure your load. For beach cart loads, consider using large wheels for beach carts to improve mobility over soft sand while maintaining a low center of gravity. For sandy terrain, selecting a cart with high-quality sand tires further reduces effort and prevents tipping. If you have a truck, consider using a kayak carrier designed specifically for the bed or roof to match the anchor points and load shape.
Check your vehicle’s owner’s manual for specific anchor point locations. Confirm that each anchor point’s strength exceeds the strap’s working load limit. The weakest link in your tie-down system will determine its overall limit. Select points that allow firm downward or lateral restraint, ideally with an angle of 30 to 60 degrees from the load’s plane for optimal holding power. Inspect each anchor for corrosion, looseness, or damage before use. Ensure the pull direction aligns with the structural capacity of the anchor, preventing undue stress or failure. Proper load distribution and careful anchor point selection are essential to prevent shifting or accidents during transport.
Hook the Strap Securely to Your Anchor Points
To guarantee your strap stays secure under tension, you must attach each hook properly to a rated, load-bearing anchor point. Ensure the hook is fully seated, not hanging by the tip, so it remains engaged as the strap tightens. Always orient the hook opening toward the anchor’s center, aligning the pull force along the hook’s body to prevent tip loading or twisting. Keep the strap flat against surfaces, add edge protection if there are sharp edges, and inspect both hooks for bends, cracks, or other damage before each use. Additionally, verify the integrity of the anchor point itself—look for looseness or damage. If any connection appears unstable, stop immediately and reset. Your load’s security hinges on these precise, careful hook placements and anchor evaluations. For particularly heavy or bulky loads, consider pairing your strap system with a wheeled dolly like a top heavy duty utility cart to safely move items before strapping them down. For securing cargo on a hitch carrier, consider using a top aluminum cargo carrier for a durable and lightweight platform.
Thread the Ratchet Strap Correctly
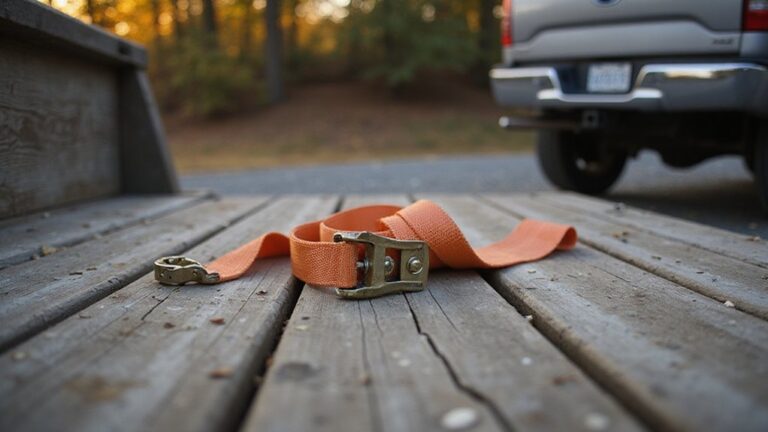
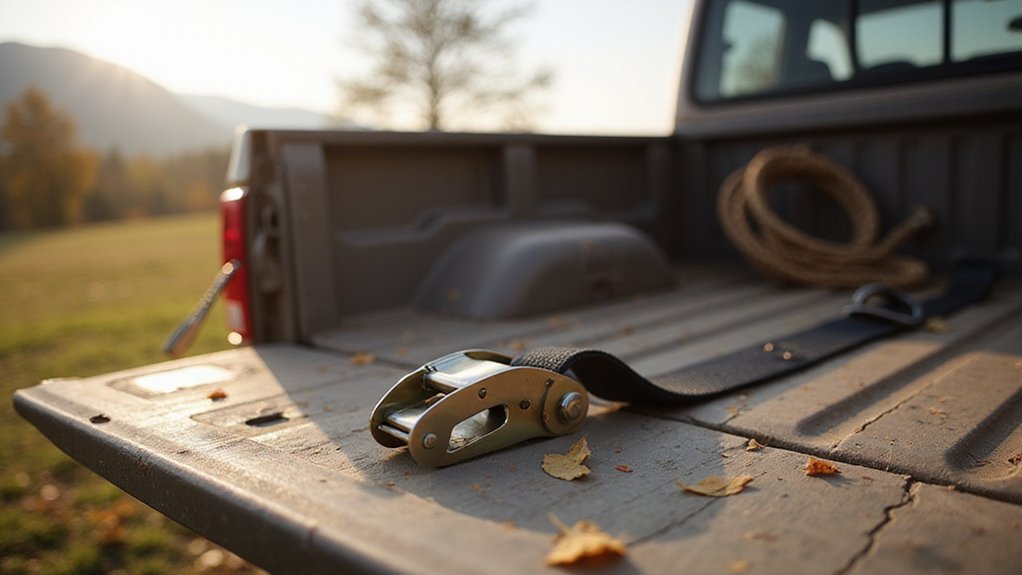
To thread the ratchet strap correctly, start by pulling the release lever to fully open the ratchet and lay the handle flat. This position provides clear access to the spool slot, making it easier to guide the webbing. Before feeding the loose end through the mandrel slot, check that the webbing is straight and free of twists. Feed the webbing from the underside through the mandrel slot, pulling several inches through. Then route the strap back over the spool, keeping it flat and centered on the mandrel. Make sure the handle is positioned so that the spool slot remains unobstructed, which ensures smooth insertion. Leave enough slack to make two or three even wraps around the spool, avoiding excessive overlaps. Build these wraps carefully without twisting the webbing, and constantly check for proper alignment to prevent binding. Proper handle positioning at this stage helps ensure a smooth, jam-free threading process. Always confirm the ratchet is in its open position before feeding the webbing, as this prevents the internal pawl from catching prematurely and causing a jam. Always inspect the webbing for frayed edges or cuts before use, as damaged straps can fail under tension. Understanding whether your load requires a Class 3 or Class 4 hitch can help you choose a ratchet strap with the appropriate weight capacity. For heavy loads, selecting a strap with a greater working load limit is essential to ensure secure and reliable fastening.
Tighten Until the Load Feels Secure
Once you’ve threaded the ratchet strap correctly, start tightening it gradually. Stop once the load feels secure, not when the strap is under maximum tension. Use short, controlled pulls and watch for the load to stabilize. When the cargo no longer shifts under your hand pressure, that’s your cue to stop tightening.
If the strap resists being pulled away from the load, you’ve reached proper tension. Avoid overtightening because excess force can damage the webbing, crush soft goods, or distort fragile items. The webbing should lie flat, without sagging, twisting, or bunching. Aim for a dull, stable tension rather than a sharp, overly stressed feeling.
After tightening, press or apply slight pressure to the load again to ensure no movement. If the cargo shifts, adjust the tension as needed—but stop as soon as the load feels securely held. Proper tension keeps your cargo stable without risking damage to the strap or your freight. For a bicycle trailer, check that the strap is attached securely to the frame before loading cargo.
Lock the Ratchet and Double-Check Everything
Once the strap is tensioned, fully close the ratchet handle until it locks and clicks into place against the body. This secures the strap and prevents vibration or road movement from loosening it over time. Next, walk around and perform a thorough safety inspection. Confirm the webbing lies straight through the mandrel, and that hooks are attached to solid anchor points without twists. Check for any cuts, frays, or contamination on the straps. Ensure the ratchet mechanism moves smoothly and locks securely without binding. Push on the cargo— it shouldn’t shift or move. Verify that the working load limit tag remains clearly readable. If you notice any damage or defects, replace the component immediately. Before finalizing, confirm your tow hitch installation is secure and that all bolts are torqued to the manufacturer’s specifications to avoid a dangerous failure. When finished with your setup, coil the straps loosely and store them in a dry area away from chemicals. Once you’re confident everything is secure, you’re ready to go.
Re-Tighten Straps After the First Few Miles
After locking the ratchet and double-checking your setup, you need to perform a tension recheck within 5 to 15 minutes or roughly 2 to 10 miles. Load settling during this time is normal—cargo compresses, anchor points seat in, and slack may appear. Pull on the webbing to ensure it remains snug; don’t assume the initial tightness is enough. Unlike bungee cords, ratchet straps rely on precise mechanical load ratings to prevent over-tensioning and failure.
Inspect the load for any shifting or tilting. Verify that hooks stay seated and webbing winds evenly on the spool. Early loosening reduces the securement force, increasing the risk of cargo movement. If your setup uses a hitch, selecting the best hitch adapter can also improve overall stability and connection quality. Re-tightening at this stage helps maintain proper control, especially for heavy or compressible cargo. Even small amounts of slack can lead to significant movement, impacting handling and stopping distance. Making this tension check a regular part of your routine for every trip ensures safer, more reliable cargo securement. For added safety, ensure the rack is mounted following the manufacturer’s torque specifications to prevent shifting at the attachment points.
Release a Ratchet Strap Safely
To release a ratchet strap safely, start by locating the release lever or tab on the ratchet head, usually positioned on the side or top. Press or squeeze this lever to disengage the lock. Next, pull the handle fully open until it is around 180 degrees flat; this opens the pawl and allows the spindle to turn freely. Keep steady pressure during this step to prevent sudden movement.
Gradually release tension by controlling the handle and webbing. Avoid yanking the webbing, as this can cause it to snap back and threaten load stability. Pull the loose end of the webbing back through the spindle slot once there’s enough slack, allowing the strap to unwind in a controlled manner. Do not force the ratchet mechanism to speed up the process.
Once there is sufficient slack, carefully remove the strap from the load. Unhook it from the anchor point while keeping your hands clear of pinch points. Hold the webbing securely to prevent recoil. Always release the strap slowly and deliberately to ensure your safety and maintain load security.
Avoid These Common Ratchet Strap Mistakes
To avoid common ratchet strap mistakes, follow these key practices. First, never exceed the strap’s Working Load Limit, as overloading can cause sudden failure at the anchor point or in the webbing itself. Second, always ensure the webbing lies flat and untwisted—twisted straps concentrate stress and weaken their strength. Never knot a strap; doing so is unsafe and against safety regulations. Before each use, inspect the strap thoroughly for cuts, frays, rust, or other damage, because damaged webbing can fail unexpectedly. Proper tension is crucial: avoid under-tightening, which allows cargo to shift, and over-tightening, which can deform loads or overload anchor points. Protect webbing from sharp edges to prevent cuts and abrasions, and never drag straps along the ground, which accelerates wear. Finally, store straps properly by keeping them dry and out of direct sunlight, as exposure to moisture and UV light accelerates deterioration and shortens their lifespan.