How to Thread a Ratchet Strap: Complete Setup Guide
Struggling to figure out the right way to thread a ratchet strap? It can seem tricky at first, but once you know the process, it becomes quick and straightforward.
Properly threading the strap ensures your load stays secure without accidents or slack.
Keep reading, and you’ll learn how to do it correctly every time.
Feed the Webbing Through the Mandrel Slot the Right Way
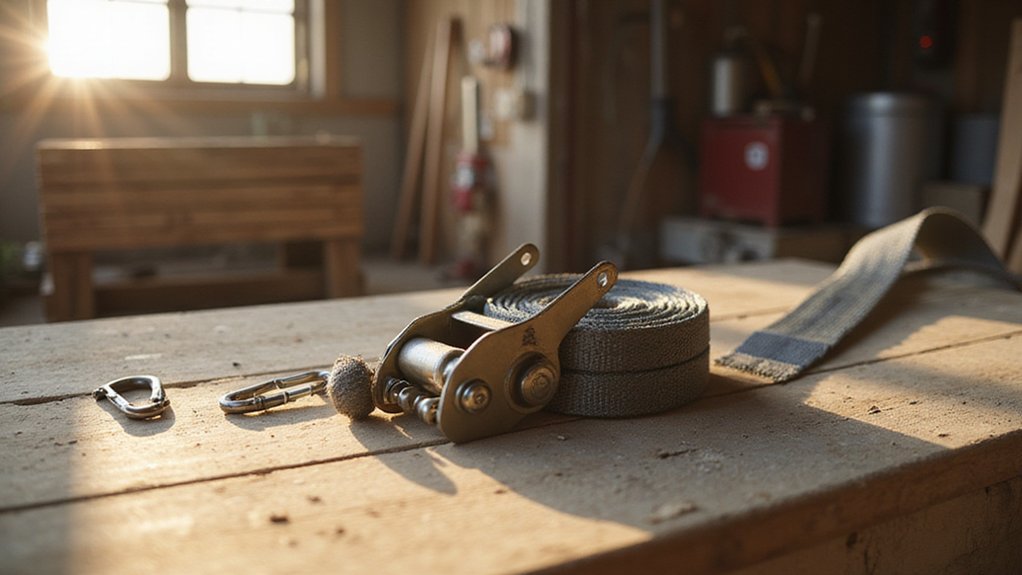
To feed the webbing through the mandrel slot correctly, start with the loose end of the webbing—not the hook end. First, perform a quick inspection of the mandrel to ensure the slot is clean and rotates smoothly. Then, feed the loose end up through the bottom of the center slot, avoiding the outer frame. This method guarantees proper webbing alignment, with the strap entering from underneath and exiting at the top. Pull enough webbing through so that 50 to 100 millimeters protrudes beyond the mandrel. This creates optimal slack, allowing for two to four initial wraps, without risking jams. Before closing the handle, verify the strap lies flat, untwisted, and tracks centrally through the spool area. Correct threading now prevents binding during use. For example, a secure installation uses the same principle of checking all fittings before applying tension. For stability on uneven terrain, these techniques are as reliable as wheels on top beach carts. A compatible cargo net can also help hold loads in place during transport.
Open the Ratchet and Untwist the Strap Before You Thread
Opening the ratchet before you feed the strap is essential because it fully exposes the mandrel slot, making the threading path visible and accessible. Start by pulling the release latch to release the handle, then rotate it until it lies flat—roughly 180 degrees. Proper handle positioning is crucial; poor placement can cause binding and hide the spool opening, so don’t skip this step. Next, remove any leftover webbing from previous uses, as old layers can trap the new feed end and lead to uneven winding. Lay the strap out flat and untwist it thoroughly. Twisted webbing not only reduces breaking strength but also causes premature wear. Check the entire visible length for half-twists or loops, ensuring the fabric edges stay parallel and unrolled. A straight, twist-free strap feeds smoothly through the slot and wraps evenly around the spool. Confirm that the ratchet is disengaged, the webbing is untwisted, and no webbing remains inside before proceeding. This preparation helps prevent snags and guarantees reliable tension, ensuring a secure and efficient strap tightening process. For a heavy load, consider using a furniture dolly to ensure your carrier holds safely. For improved performance under repeated use, choose a model with quality and performance ratings that match your cargo requirements.
Pull Slack and Ratchet for Smooth Tension
Pump the handle with steady, full-range strokes to ensure smooth tensioning. A consistent rhythm allows the ratchet mechanism to take up tension evenly, preventing jerky pulls that could misalign the webbing. Watch how the strap winds uniformly around the mandrel—every wrap contributes to efficient tightening. Tighten until the load feels firm but not crushing your cargo; over-tightening can cause damage or surpass the working load limit. Confirm that the webbing is snug yet not overly tight, so your cargo remains secure without deformation. Always inspect the webbing for fraying before each use to catch potential failure points early. Once you feel solid resistance and the cargo won’t shift, stop ratcheting to maintain a stable, secure hold. This process mirrors how a wheelbarrow functions as a second-class lever, where the load is placed between the fulcrum and the effort to multiply force. For kayak transport, Thule roof racks provide a reliable attachment point for securing your gear with straps.
Common Ratchet Strap Threading Mistakes to Avoid
Incorrect threading is a common mistake that can compromise your load security. Never feed the strap over the mandrel; always thread from the back toward the handle. Routing the strap incorrectly through the wrong channel prevents the mechanism from locking properly and can lead to a sudden release. Ensure the webbing is pulled flat without twists, knots, or folds. Twisted or folded webbing concentrates stress, reduces the working load limit, and weakens tension. Excess slack should be pulled through the ratchet before cranking, as too much slack winds onto the mandrel and reduces the number of wraps securing your load. Using improper hardware also poses risks; for example, a 2-inch strap on a 4-inch ratchet will not tension correctly, so always match the strap width to the ratchet size. Finally, engage hooks only on rated anchor points with the smooth side down, and avoid joining straps end-to-end, which can create point loading and increase failure risk. Always begin with the ratchet in a fully closed position to ensure proper threading and alignment for effective tensioning. Additionally, verify the dolly’s load rating before moving heavy appliances, as exceeding it risks tipping and injury. For large or unwieldy loads, a collapsible folding wagon can simplify transport to the job site, reducing strain before you even begin strapping down. Understanding the basic push cart mechanics helps you appreciate how a stable base improves tie-down efficiency during transport.
Release and Inspect Your Ratchet Strap After Use
After securing your load and avoiding common threading mistakes, disconnect and inspect the ratchet strap thoroughly. First, ensure the load is stable and has not shifted. Then, pull the release lever to disengage the ratchet mechanism. Fully open the handle, pull the webbing back through the spool, and unhook it only when the tension has completely released. Carefully examine the entire webbing for cuts, fraying, burns, or UV damage, paying close attention to areas near hooks. Check the stitching for broken or loose threads to maintain strength. Verify that the label is legible for inspection or replacement information. Examine the hardware including hooks and ratchet components for cracks, bends, or rust; the ratchet should operate smoothly when opening and locking. If any part shows damage, remove the strap from service immediately to prevent failure. For moving heavy furniture on carpet, consider using top furniture sliders to reduce strain on your load. Understanding the differences between receiver hitch types can help you select the proper towing equipment for future tasks. Finally, clean the webbing if needed, close the ratchet, and store the strap in a dry place away from sunlight and chemicals. Proper storage ensures your gear remains reliable for future use.