How to Attach a Burley Bike Trailer: Hitch Setup Guide
If you’re wondering how to securely attach your Burley bike trailer, it’s important to get each step just right. The right hitch setup ensures safety and smooth towing every time you hit the road or trail.
By following a few simple guidelines, you can confidently connect your trailer and enjoy hassle-free rides.
Keep reading for the full steps to set up your hitch properly.
Match Your Burley Hitch to Your Axle and Trailer Type
Match your Burley hitch to your axle and trailer type by first identifying your axle category. Standard dropouts typically use the Steel Hitch, but hooded dropouts often require an axle adapter to sit flush with the dropout. For 12 mm thru-axles, you need a Burley Thru Axle instead. Check your frame early—if the dropout blocks the hitch, installing an adapter becomes necessary. Nutted setups, such as on a Coho XC, also demand specific adapters designed for that configuration. Similar to how early wheelbarrow designs used a single wheel and simple frame for balance, your hitch system must prioritize stability from the start. For added convenience, choose a hitch system that integrates easily with a lawn mower cart to simplify yard maintenance tasks.
Ensure the adapter’s diameter and thread pattern exactly match your axle’s specifications. Mismatched threading can cause damage or compromise safety. Confirm that after attaching the hitch or adapter, the axle nut still reattaches securely. Trailer type is equally important—child trailers and cargo trailers use different hitch systems. Verify the trailer’s system before purchasing parts to avoid a loose fit or stripped threads. Accurate matching of all components is essential for safe, reliable towing. A similar principle of avoiding specialist tools applies when adapting hardware for non-standard attachments, as seen in low-cost DIY builds that prioritize simple, secure fits over custom fabrication.
Install the Burley Hitch on the Left Rear Axle
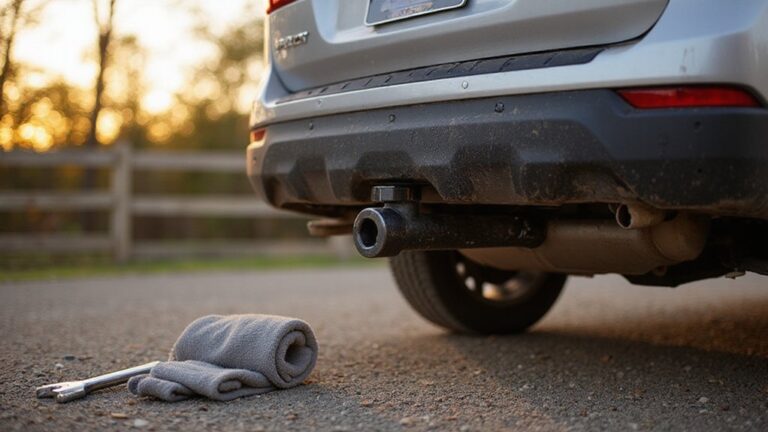
Position the Burley hitch between the axle hardware and the bike frame, ensuring it rests flush. For standard forged hitch installation, the hitch slides onto the skewer with the attachment point facing outward. Make sure its tabs are parallel to the ground and facing outward correctly. Reinstall the axle nut or skewer according to your bike’s specifications—tighten to approximately 30 Nm if using adapters, or 20 Nm for solid axles. Double-check that the axle remains fully seated and avoid overtightening, which can cause damage or misalignment. Also, verify there is enough clearance to prevent any interference with quick-release levers, brakes, or other components. If space is tight, consider using an adapter to ensure proper fit. Before riding, recheck the tension to confirm the hitch is secure and properly aligned. This attachment method uses the same receiver hitch interface found on many bike racks and trailers. Always perform a final safety check to ensure all connections are stable and the trailer moves freely. To further secure the setup, ensure the truck bed extender is locked in place according to the manufacturer’s instructions.
Attach the Burley Tow Arm and Lock the Pin
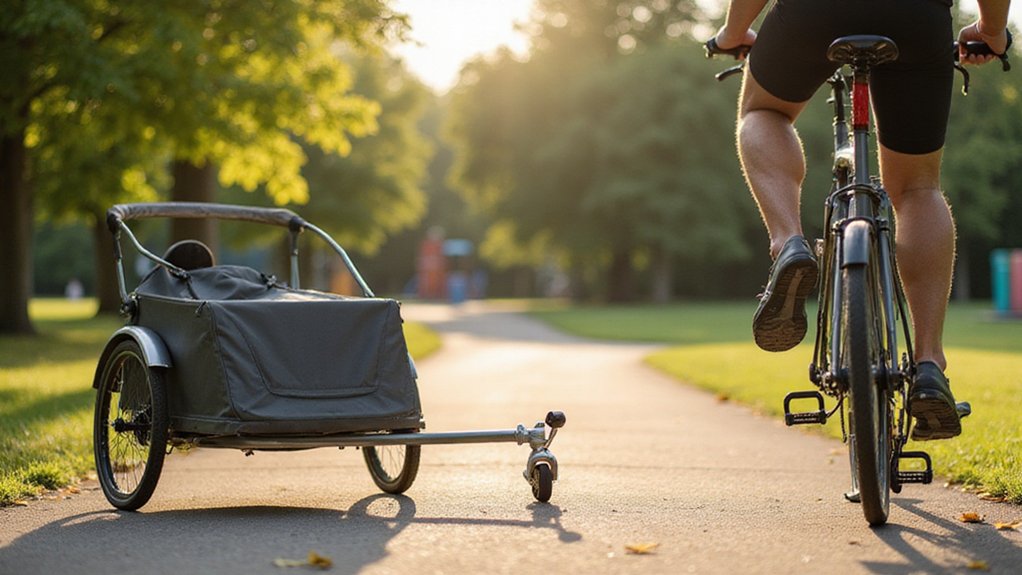
To attach the Burley Tow Arm and lock the pin, first align the tow arm with the receiver on the trailer’s left side and slide it fully into place. Ensure that the tow arm sits flush against the receiver before proceeding—this confirms proper alignment. If your trailer has a wheel guard, open it first to avoid obstruction. When inserting the tow arm into a button-style receiver, press the release button to facilitate smooth insertion.
Next, secure the connection with the lock pin. Push the pin through the aligned holes on the tow arm and receiver, making sure it passes completely through both parts. Avoid forcing the pin, as resistance indicates the tow arm might be misaligned; reposition the arm if necessary. Once in place, fully close the retainer to lock the pin, ensuring it does not stay loose, which could compromise safety. Before lifting any load, always perform a practical safety check like testing the stability of the connection on a flat surface. A top receiver hitch lock provides added security for the towing connection. For kayak transport, a truck bed extender provides a stable platform for hauling long items.
Finally, tug lightly on the tow arm to verify it is securely locked. Confirm that the pin is engaged through both holes and that the retainer remains latched. Performing this check before connecting your bike helps ensure that your towing setup remains safe and reliable throughout your ride.
Wrap the Safety Strap Around the Frame Stay
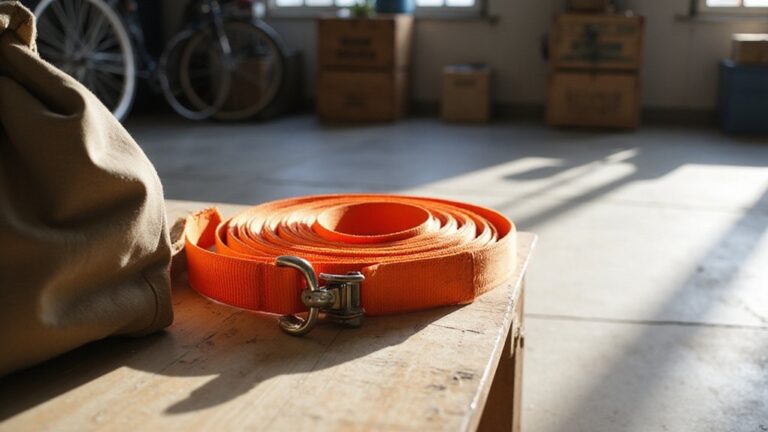
Wrap the safety strap around the bike’s chain stay twice to create a secure backup connection. This step follows locking the tow arm in place. Although it’s not the primary hitch, it acts as a failsafe if the main attachment loosens. Make sure your Burley hitch model matches the strap’s design, since mixing parts can weaken the backup. Loop the strap fully around the stay, then clip it to the tow bar’s D-ring. This wrapping prevents the strap from abrading the frame stay during rides. Do not skip this step, as improper installation diminishes its safety function. The strap should sit snugly without interfering with racks or bags. Keep in mind, the strap is not a substitute for a properly seated retaining pin. Follow Burley’s specific routing instructions for your hitch generation to ensure reliable backup protection. Measuring the caster wheel’s frame stay circumference ensures the strap length and diameter are compatible. For additional insight, 3-in-1 fold wagon reviews emphasize the importance of secure attachment systems for stability. For instance, routine cleaning of caster wheels helps prevent debris buildup that could compromise the hitch’s backup connection.
Double-Check Clearance and Tightness Before Riding
Before riding, double-check both clearance and tightness. Ensure the hitch clears your rear axle, dropout, and any quick-release hardware to prevent contact during movement. The tow bar should move freely without rubbing against the wheel, brake caliper, or frame. Perform a brake check by pressing the brakes and confirming the trailer doesn’t shift into the wheel or frame when decelerating. After loading, recheck the ground clearance—Burley’s Steel Hitch requires at least 11 inches from the ground to operate safely. Tighten the axle nut or quick-release so the hitch clamps securely, ensuring at least five full turns of thread engagement. Fully insert the safety pin through the hitch and connector holes for added security. After making any gear adjustments, do a short motion test by turning the handlebars side to side and pedaling to confirm no contact occurs. If you hear or feel anything unusual, stop immediately and retighten to prevent issues during your ride. For a stable load, consider using a furniture dolly to support heavy items during loading and wheel alignment checks. To further prevent movement, verify that the mounting hardware aligns properly with the trailer’s coupler, as mismatched components can compromise stability. Additionally, check that the cargo net is free from frays to ensure it holds gear securely without unexpected failure.
Remove or Store the Hitch When Not Towing
Once the trailer is detached from your bike and your ride is finished, you should decide whether to leave the hitch installed or remove it. If you expect to tow again soon, leaving the hardware mounted saves time and effort. If not, removing the hitch helps reduce clutter and minimizes wear on the components. Keep all parts—pin, flex connector, strap—together in a designated container to prevent loss. Before storing, inspect the hitch for any signs of damage, such as bent metal or cracked plastic, to ensure it remains in good condition for future use. Follow compatibility notes to confirm the hardware works with your specific bike and trailer model before reinstalling. Store the hitch indoors in a dry, well-ventilated area away from direct sunlight. Avoid exposing it to temperatures below -10°F or above 150°F, which can cause brittleness or material degradation. When reinstalling after removal, follow your bike manufacturer’s instructions for reattaching the axle hardware so your bike remains safe and ready for normal riding. Always check the hitch for damage before reuse, particularly if it has been stored for an extended period. For example, reviewing top garden carts can help you select a durable cart for hauling stored equipment and hitch parts. Properly choosing caster wheel materials ensures long-term durability for any stored equipment that uses a dolly or cart.