How to Fix Ratchet Straps: Unjam & Repair Them Fast
Struggling to get your ratchet straps unstuck or working smoothly? It’s a common problem, but often a quick fix is all you need.
With a few simple steps, you can clear jams, fix tangled webbing, and get back to securing loads safely.
Keep reading for easy tips to troubleshoot and repair your ratchet straps fast.
Diagnose What’s Blocking Your Ratchet Strap
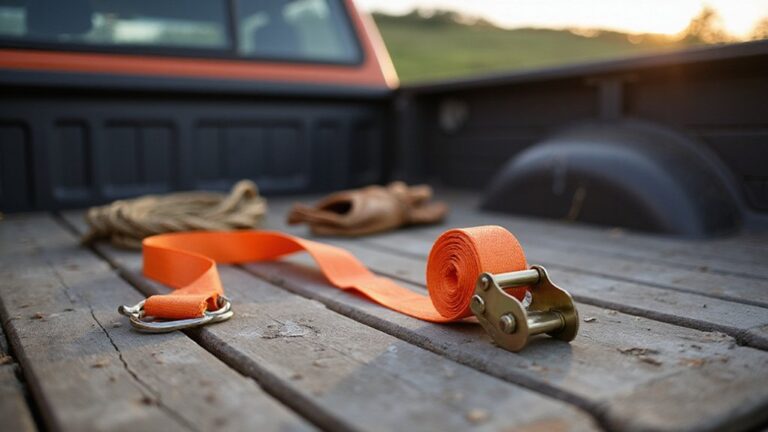
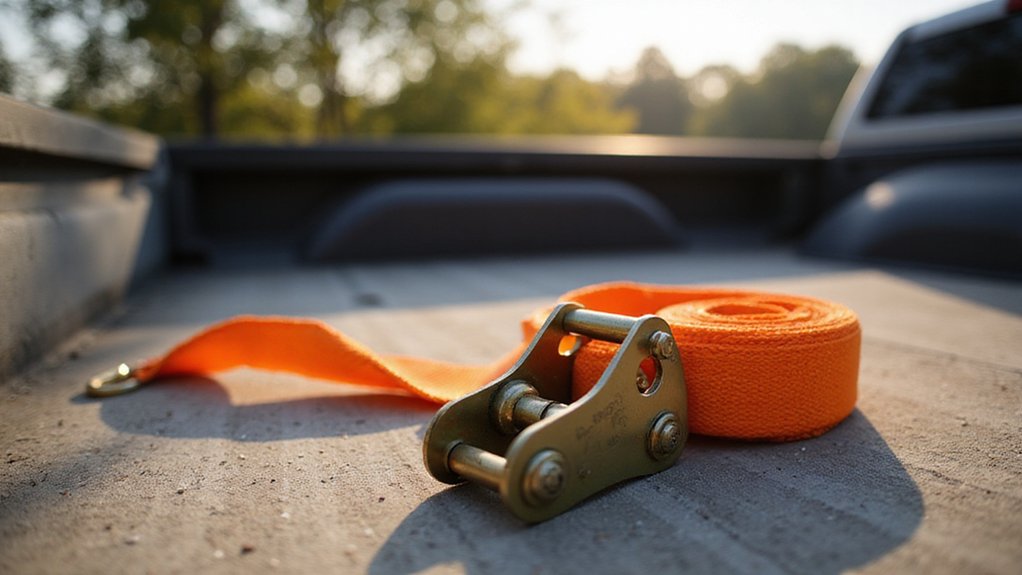
A jammed ratchet strap is usually caused by dirt, debris, or damage blocking the mechanism. Start by inspecting the ratchet body for dirt, sand, or mud that may be packed inside, which can prevent smooth operation. Check the webbing for twists, overwinding, or kinks that might catch or bind as it feeds through the spool. Poor webbing alignment with the locking pawl often leads to immediate blockages, so ensure the webbing runs straight through the mechanism without catching. Also, examine the ratchet components for rust or corrosion, as these materials increase friction and hinder movement. Finally, look for compressed layers or overwinding on the drum—excess layers can jam the strap when you try to tighten or release it. Always confirm the strap isn’t just partially locked or twisted before assuming internal damage, as a quick visual check often reveals the root cause. For a cleaner workspace, consider how mounting hardware alignment prevents binding in similar tensioning systems, though ratchet straps lack the fixed anchor points of a vehicle cargo net. For sizing a workspace or load area, knowing how many wheelbarrows in a yard helps gauge the volume capacity for moving debris or materials efficiently. To ensure your straps hold securely during transport, choose a model from the top ratchet straps that offers durable construction and reliable performance for heavy loads.
Unjam a Stuck Ratchet Mechanism Safely
To unjam a ratchet mechanism safely, start by fully releasing the locking pawl using the release tab. Carefully open the handle flat with smooth, controlled movements. Firmly hold the ratchet body and work the hardware gently, avoiding force if the release catch resists. For a jam caused by over-wound webbing, you can insert a small flathead screwdriver into the slot near the spool’s center shaft to spin it counterclockwise and backwind the spool, reducing tension and slack in the webbing. If you are using a heavy-duty model, consider using a lawn mower cart to help stabilize the load while you work. For continued performance, it helps to inspect the ratchet’s locking pawl for wear or debris. Before beginning any release procedure, confirm that the trailer hitch is properly secured to the bike frame to prevent the entire setup from shifting unexpectedly.
Next, release any stored tension by pulling the webbing back through the spindle gradually. This helps prevent recoil or sudden load shifts. Keep the cargo stable and stand clear of the strap’s path during this process. These precautions are essential to avoid injury. Also, ensure the trailer’s safety tether is attached to the bike as a secondary backup in case the primary connection fails during the unjamming process.
To free the mechanism, make small movements—wiggle the handle or webbing gently to realign internal parts. Use only light hand pressure; applying too much force can bend or damage components. If the mechanism remains jammed despite gentle effort, it’s safest to replace the strap rather than risk further failure.
Clear Dirt and Rust From the Ratchet Pawl
Start by removing loose dirt from the ratchet pawl to prevent scratching during rust removal. Use a clean rag to wipe the pawl area, then employ a stiff-bristle brush to dislodge dirt lodged between the teeth and pivot points. For tight crevices, a pick or small bore brush helps reach grime that’s difficult to remove with a cloth or brush alone. Follow up with compressed air to blow out remaining debris, which reduces abrasion during later movement checks. For stubborn debris lodged in the teeth, use blades to remove dirt if debris accumulates, as recommended during hub servicing. The pawl’s movement is similar to the simple lever action found in a wheelbarrow, where force is applied at one point to pivot another. Using a furniture dolly can help stabilize heavy items while you access and service the ratchet mechanism. Before servicing, ensure the ratchet is mounted on a stable surface, just as you would secure a truck bed extender during installation to prevent shifting.
Once the dirt is cleared, examine the pawl surfaces for rust. Use a brass wire brush to lift rust without scratching the steel. For light rust spots, apply vinegar or a commercial rust remover like Evaporust, then scrub gently until the rust dissolves. Make sure to clean the hidden corrosion inside the pawl slot and on the gear face with a pick set. After cleaning, rinse the parts with water and dry them thoroughly to prevent new rust formation. Finish by applying a small amount of light oil—just enough to keep the pawl moving freely—taking care not to attract more dirt or debris.
Free an Over-Wound Ratchet Spindle
To free an over-wound ratchet spindle, you need to fully disengage the mechanism before reversing the load. Begin by pulling the handle open until it lies flat, which maximizes release travel, all while holding the release lever completely retracted. Do not attempt to ratchet against the jam; keep the mechanism locked in its release position. If you are using these straps to secure a kayak, ensure the webbing is straight to avoid unnecessary binding during transport. Next, reverse the spindle load by pulling the webbing tension firmly while maintaining the release in the retracted position. This allows the spool to rotate counterclockwise and helps free it from the over-wound load. Having an assistant control the webbing during this unwind can make the process smoother. Before pulling, check that the gear alignment is correct. Twisted webbing can worsen the binding. Once the spindle loosens, straighten the webbing and remove any twists before rethreading. Avoid using tools like pipes or hammers to force the handle, as this can damage internal components. Using a heavy-duty dolly for moving the loaded item may reduce stress on the straps. Leave some slack when tightening to prevent another over-wind. For a stable workspace, consider positioning the cart on a flat and level surface to keep the release mechanism fully accessible.
Fix Webbing Bunched on the Drum
If webbing bunches up on the drum, you’ll need to fully open the ratchet mechanism to access the spool. Start by releasing the ratchet handle until the mechanism lays flat. Before touching the strap, engage the release pawl to prevent the webbing from slipping back. Keep the webbing flat while opening the mechanism to minimize further binding, and ensure it’s centered in the drum slot for proper refeeding. Excessive ratcheting causes straps to become tangled, so over-wound strap issues are common and require careful handling. For a garden task this meticulous, selecting the right tool is just as important as choosing the perfect wheelbarrow for your workload. When hauling gear by bike, you might instead consider top camping trailers designed for secure cargo transport. Building a custom canopy wagon can eliminate strap bunching by providing a dedicated, flat platform for cargo.
Use a blunt tool like a flat-head screwdriver to gently lift the top layer of webbing, creating a small gap in the compressed webbing. Pull the loose end back through the mechanism to free up space. Repeat the lift-and-pull process layer by layer until the webbing clears the drum. Avoid forcing the strap, as compressed layers can tighten under tension and cause damage or difficulty.
Once the bunch is cleared, re-feed the webbing through the drum’s center slot with the ratchet closed. Lay the strap flat, eliminate any twists, and position the webbing at the center of the drum to ensure even wrapping. To maintain proper tension, use short, controlled ratchet strokes once the strap is seated correctly.
Restore Smooth Ratchet Operation After a Jam
To restore smooth ratchet operation after a jam, follow a logical sequence. First, fully pull the release lever to disengage the locking teeth. Next, open the handle flat. Avoid forcing it; instead, gently wiggle the strap back through the spindle to relieve tension. If the strap binds, feed a little webbing back to loosen it. Use a flathead screwdriver to lift any bunched material from the drum, or rotate the shaft counterclockwise if the spool is stuck. Pry lightly to prevent bending the ratchet branding or teeth. To ensure proper setup and avoid future tangles, always remove all slack from the strap before tightening. Similar to maintaining a bicycle pannier bag, consistent care prevents equipment failures. Clean dirt from the ratchet wheel and pawl, then lubricate only the metal parts. Check the manual pawl and the spring-loaded release tab to ensure they can move freely, as any sticking prevents smooth operation. Keep the strap’s coloring clean, since lubricant on the webbing reduces grip. This approach mirrors the simplicity of a no-weld DIY dolly designed for heavy loads. Finally, test the lock with gentle handle strokes, ensuring the operation feels fluid again.
Inspect Your Ratchet Strap for Hidden Damage
Inspecting your ratchet strap for hidden damage is essential for safety. Start with a full webbing inspection: run your hand along its entire length, feeling for rough spots, stiffness, or thin areas that could indicate weakness. Look closely for cuts, fraying, abrasion, or crushed sections where cargo may have rubbed. Check for glazed, melted, blackened fibers from heat or friction, and spot chemical stains or mildew that could compromise the material. Examine the stitching carefully—broken threads or unraveling seams at load-bearing points signal potential failure. Don’t dismiss fading or brittleness caused by UV exposure; these signs suggest the strap has degraded and should be rejected. Measuring your strap’s width with a tape measure is an important step for determining the correct replacement size. If you are deciding between different styles for your next purchase, consider the push vs. pull wagon trade-offs to ensure easy maneuverability during loading and unloading tasks. A high-quality tool cart with wheels can also be a valuable upgrade for organizing your repair equipment and keeping your workspace efficient.
Next, assess the hardware: inspect the ratchet, hooks, and D-rings for cracks, rust, or distortion. Ensure the handle and side plates aren’t bent or bent out of shape. Check that the locking mechanism operates smoothly and engages fully without sticking. Lastly, verify the presence and readability of the identification tag; without it, you can’t confirm the strap’s rated strength or compliance with safety standards.
Replace a Ratchet Strap vs. Repair It
When deciding whether to replace or repair a ratchet strap, replacement is almost always the safer choice. If the webbing is cut, torn, burned, or chemically weakened, repair won’t restore its strength or reliability. Damage like UV degradation, mold, or missing load-rating labels also make repair pointless because they compromise safety and performance. Manufacturer-authorized repairs are rare, and field stitching often weakens the strap further. Hardware damage such as bent hooks or slipping ratchets indicates it’s time for a swap.
To streamline your purchase, use color coding to quickly identify and select the correct strap size. After replacing, store your straps properly by keeping them dry and out of direct sunlight. This practice helps prevent premature wear. If there’s any doubt about the strap’s strength or integrity, opt for a replacement rather than risking failure. Overall, the cost and time required for a new strap typically outweigh potential issues from a questionable repair.
Lubricate Moving Parts to Prevent Future Jams
To effectively lubricate moving parts, always start by cleaning the ratchet mechanism first. Dirt, grit, rust, and old residue can cause parts to stick even after lubrication. Use tools like a stiff brush or compressed air to reach pivot points, gear teeth, and handle joints. Remove all debris so the lubricant can properly penetrate the metal-on-metal contact surfaces.
Select a light machine oil, silicone spray, or PTFE spray for lubrication. Apply just a few drops—over-lubrication can attract dirt and lead to future jams. Work the lubricant into the gears by operating the ratchet several times, then wipe away any excess to prevent buildup. Be cautious to keep lubricant off the webbing, as oil on the strap attracts dirt and can weaken its strength. Establish a maintenance routine, lubricating every few months for frequent use or once or twice a year for less frequent use. If the operation feels stiff or stiffens over time, it’s a sign that it’s time to lubricate again.
Store Ratchet Straps So They Don’t Lock Up Again
To prevent your ratchet straps from locking up again, you should store them dry, clean, and neatly after each use. Make sure to air-dry damp webbing completely before rolling it up, as trapped moisture can cause corrosion in the mechanism and weaken the strap material over time. Remove dirt, grease, and chemicals immediately to avoid fiber degradation. Store your straps in a cool, dark, dry place—avoiding direct sunlight which can reduce their load capacity gradually. Keep them away from damp garages or outdoor environments. When storing, roll or fold each strap neatly and secure it with Velcro straps or zip ties to prevent tangles and kinks. Only use storage containers when you are certain that the straps are thoroughly dry and clean, as sealed, damp environments can trap moisture and promote rust. Lastly, fully retract the strap into the ratchet housing to keep the system compact and protected. Following this routine helps prevent lockups before they happen.