How to Fix a Wheelbarrow Tire: Flat Repair Made Easy
Getting a flat wheelbarrow tire can definitely throw off your project, but fixing it isn’t as complicated as you might think.
Whether you’re dealing with a tube or tubeless tire, knowing the right steps can get you back on track quickly.
By the end, you’ll be able to identify the type of tire, locate the leak, and repair or replace it with confidence.
Keep reading to learn how to fix that flat and save time and money.
Identify Your Wheelbarrow Tire Type: Tube vs. Tubeless
To determine whether your wheelbarrow tire is tube or tubeless, start by examining the valve stem. If it moves slightly when touched, you’re dealing with a tube tire because the valve is part of the inner tube. If the valve stem is fixed tightly to the rim and doesn’t move, it’s likely tubeless. Next, check the sidewall for markings—look for words like “Tube Type” or “Tubeless.” Keep in mind, these markings aren’t foolproof; a tubeless tire can still contain a tube. Finally, inspect how the bead sits against the rim. A tight, well-sealed bead indicates a tubeless setup, while a loose bead suggests a tube tire. Performing this quick diagnostic saves you time and effort during repair. Understanding the concept of a receiver hitch can help you attach a tire repair trailer to your vehicle for convenient roadside fixes. For long-distance trips, choosing a lightweight trailer with ample cargo space ensures you can carry spare tires and tools without overloading your bike. When selecting that trailer, prioritize models with quality and value ratings from independent reviewers to avoid flimsy attachments.
Remove the Wheel and Get the Tire Off the Rim
To remove the tire from the rim, start by deflating the tire completely through the valve stem to release any remaining air pressure. Check the rim edge for rust, as corrosion can make bead removal more difficult. Working away from the valve, insert a flathead screwdriver or tire lever between the tire bead and the rim. Pry small sections over the rim’s lip methodically, pushing the bead into the rim’s center channel to reduce tension. Continue this process until one side of the tire is free from the rim. Flip the wheel and repeat the process on the other side. If the tire sticks, applying soapy water can ease friction. Use two levers if needed, but only peel back one side at a time to access the inner tube or for repairs. Fully separating the tire from the rim is necessary only if repairs or tube removal are required. For small tires, breaking the bead at one spot may suffice to release it fully, reducing the need to work around the entire circumference. Always check load ratings on your equipment to avoid overloading the dolly when moving heavy items. Inspect the caster wheel’s swivel bracket for any bends or cracks that could compromise movement before reinstalling. When wrestling with stubborn beads, consider fabricating a simple lever from a sturdy steel bar to gain extra mechanical advantage, much like a custom hitch build prioritizes tool efficiency over brute force.
Find the Leak on Your Wheelbarrow Tire
Remove the wheelbarrow tire from the rim before inspecting for leaks. First, inflate the tire to a firm pressure; a fully inflated tire makes leak detection easier because slow leaks often only show up under pressure. As you inflate, rotate the tire to help expose any intermittent leak points. If the tire loses pressure rapidly after inflation, this suggests a leak at the valve stem. Understanding the secure anchoring principles behind cargo nets can also help you visualize how tension holds materials in place, much like air pressure holds the tire’s shape. For transporting large loads, a collapsible folding wagon offers a similar benefit of secure containment during movement.
Next, prepare a mixture of water and dish soap in a spray bottle. Generously spray this soapy solution over the entire tire surface, including the tread, sidewalls, and bead area where the tire contacts the rim. Watch closely for steady, repeating bubbles—these indicate where air is escaping. Start by inspecting for nails, thorns, or cuts in the tread, then move to the sidewalls and the bead area. Don’t forget the valve stem and valve core; spray them as well. Bubbles at the valve suggest a faulty seal. Mark all suspicious spots with a marker for further investigation before proceeding.
Patch a Wheelbarrow Inner Tube Puncture Like a Pro
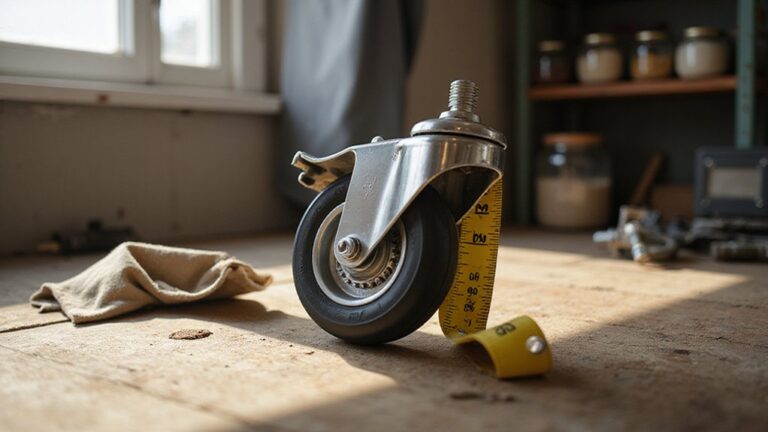
To patch a wheelbarrow inner tube puncture like a pro, start by partially inflating the tube. This makes it easier to locate and access the puncture site. Once you find the hole, roughen the area around it with a scuffer or fine sandpaper to create a better surface for adhesion. Remove any dirt, grease, or debris from the spot to ensure a clean patching area. Clearly mark the puncture with a pen or chalk so you can easily align the patch. Be cautious of environmental conditions like rain or low temperature that can affect adhesion, as longer drying time may be needed in such weather. If you need to lift the wheelbarrow to access the tube, use shoulder-friendly lifting techniques to avoid strain. For workbenches, selecting top caster wheels ensures easy mobility and stability during repairs. Similarly, when heading to the beach, choosing a wagon with durable rubber tires can prevent punctures from sand and debris.
Apply a thin, even layer of rubber cement or patch adhesive slightly larger than the patch itself. Let the cement dry until it’s tacky, which usually takes about 3 to 5 minutes. When the cement feels sticky but not wet, center the patch over the hole. Press firmly from the center outward to remove trapped air and ensure a good seal. Maintain pressure for at least one minute to allow the patch to bond securely.
After the adhesive has set, inspect the repair by applying soapy water over the patched area. Look for bubbles indicating leaks before reinstalling the tube into your wheelbarrow. Keep the patch undisturbed until you are ready to reinflate the tube to the recommended tire pressure to prevent disturbing the patch.
Plug a Tubeless Wheelbarrow Tire in 5 Simple Steps
To plug a tubeless wheelbarrow tire, follow these five steps that simplify a potentially messy repair. First, locate the leak and clear the puncture hole. Inspect the tread carefully to find the exact spot where air is escaping, then remove any debris or sharp objects embedded in the rubber. Use a reamer tool to clean and enlarge the puncture—creating a straight, smooth channel ensures the plug seats securely. Modern tubeless tires can still seal naturally, but repairs are advisable for a dependable fix. If you’re hauling the wheelbarrow over rough ground, consider building a sturdy cart to reduce strain on the tire and wheel assembly.
Next, prepare the plug and insertion tool. Thread the rubber plug through the inserter, matching its size to the size of the puncture. Keep the plug centered to ensure even insertion and avoid misalignment. Insert the plug into the puncture with firm pressure until about half of it is inside the tire; this prevents over-insertion and damage. Withdraw the tool quickly, leaving the plug securely in place.
Finally, inflate the tire to the recommended pressure and double-check the valve for proper seating. Verify that the tire maintains pressure before using the wheelbarrow, ensuring a safe and lasting repair.
How to Re-Seat the Bead and Inflate Without a Hassle
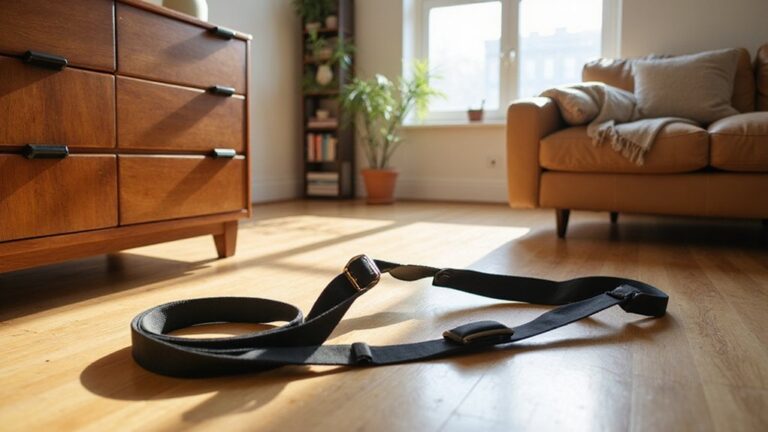
To re-seat a bead and inflate a tire without hassle, follow these steps. First, clean the rim thoroughly around the bead seat to remove dirt and debris, as these can prevent a proper seal. Next, wrap a ratchet strap around the tire’s center tread—not the rim—and tighten it to squeeze the sidewalls outward until they touch the rim edges evenly. This helps force the bead into place. Before proceeding, always perform basic safety checks on the hand truck if you are using it to move the wheel. A final safety check can help confirm the tire is secure and properly fitted before use. Then, use a compressor to deliver brief, high-volume bursts of air. Applying soapy water to the bead joint can help identify leaks because bubbles will form around any escaping air. As the bead pops into place, release the ratchet strap and continue inflating until reaching the recommended tire pressure. Check both sides to ensure the bead is evenly seated. If the tire holds air after these steps, the process is complete and hassle-free.
When to Replace Your Wheelbarrow Tire or Tube
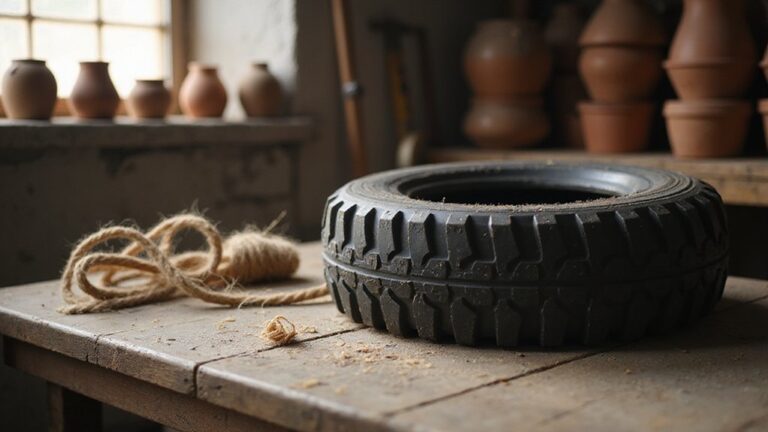
Replace your wheelbarrow tire or tube if you notice deep cracks in the sidewall, bulges, or exposed cords—these signs show the casing is likely beyond repair. When both the tire and the tube show wear, it’s best to replace them together because a rough interior can quickly puncture a new tube. Repeated repairs are inefficient; if your tire keeps losing stability or re-inflating fails, swapping both parts ensures better safety and longevity. If you choose to patch the tube instead, you will need to roughen the tube surface with an abrasive pad from a patch kit. For moving heavy loads on a flatbed, a furniture dolly with a sturdy steel frame offers better stability than a wheelbarrow on uneven ground. However, for truck owners who need to extend their cargo space when hauling bulky items, a bed extender provides a versatile alternative that mounts directly to the tailgate without requiring a separate dolly. When selecting a replacement wheelbarrow tire, consider that heavy duty dollies are often reviewed for their load capacity and wheel durability, which can help you compare similar performance factors for your wheelbarrow’s wheels.
Prevent Future Flats With These Simple Wheelbarrow Checks
Perform regular wheel and tire checks to prevent flats. Start by ensuring your tire is properly inflated—use a gauge to match the PSI on the sidewall. Underinflation can lead to pinch flats, while overinflation risks tire damage. Temperature fluctuations can change pressure, so recheck before each use.
Next, inspect the rim for smoothness and rust. Make sure there are no burrs or sharp edges that could damage the tube. Check that no spoke ends contact the tube and that the tire bead sits evenly all around. Spin the wheel to see if it wobbles, which could indicate a bent rim or loose spokes. Clean off any rust or corrosion on the rim before reinstalling.
Also, examine the tread for embedded debris like glass or thorns. Remove any hazards to avoid punctures. When installing the tube, keep it straight and avoid twisting the valve stem, which can cause stress points. Store your wheelbarrow in a covered area to shield it from sun damage and reinflate the tire before use to keep pressure consistent. For a more permanent repair, you might consider using a hitch-mounted tire carrier to transport a spare wheel.