How to Lock Ratchet Straps: Keep Loads From Slipping
Struggling to keep your loads from slipping while hauling? Properly locking your ratchet straps is key to staying safe and organized on the road.
By learning the right way to thread and tighten them, you can prevent loads from shifting and secure your cargo more reliably.
Keep reading to master the simple steps that make all the difference.
Why Your Ratchet Straps Slip and How to Fix Each Cause
Your ratchet straps are more likely to slip when you don’t apply enough initial tension. To prevent this, tighten the straps until the load feels secure and won’t shift by hand. The straps should be tight enough that they feel rock-solid, not just snug. Keep in mind that cargo naturally settles and road vibrations can loosen straps over time. After the first few miles, re-tighten the straps to account for any settling or movement. Additionally, try to stabilize any voids in the load to minimize shifting. For heavier loads, consider using a receiver hitch that provides a more stable anchor point for your tie-downs. Proper tensioning combined with periodic re-tightening during transit ensures your straps stay secure throughout the journey. For a bicycle-based approach, consider building a low-cost cargo bike that eliminates the need for specialist tools to transport your loads more safely. Choosing high-quality ratchet straps made from durable materials can further reduce the risk of slipping by providing consistent grip and reliable performance.
Thread Your Strap the Right Way So It Locks Tight
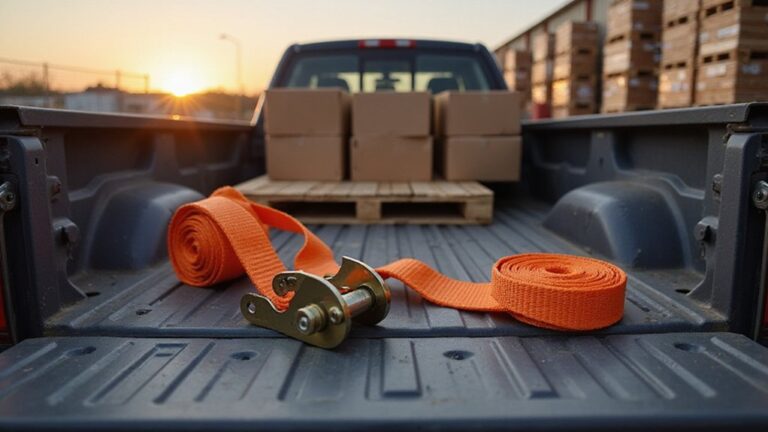
To lock the strap tight, thread the webbing through the mandrel from underneath. Begin by fully opening the ratchet so the slot clears, then feed the loose end up through the bottom of the center slot, keeping the webbing flat and straight. Pull several inches of the webbing through before tightening to ensure proper grip.
Next, focus on webbing alignment. Keep the strap centered through the slot to prevent crossing layers, which can weaken the lock. Leave a bit of slack initially so the first 2–3 wraps form securely around the mandrel. These wraps create the friction needed to hold the tension. Close the handle so the pawl engages with the teeth, locking the strap in place. You should hear a click confirming the latch has seated properly. Always inspect the webbing for fraying or damage before use to avoid failure under load. Maintaining a smooth, even winding and straight feed helps prevent slipping when under tension. To avoid wobbling during transit, ensure your tiedown system is compatible with your truck’s bed extender mounting points for a stable fit. Release the back trigger to keep the ratchet in its default, un-tensioned position before you begin threading, ensuring the mechanism is ready for a secure lock. Ensure your ratchet setup is compatible with the size and weight of your trailer’s mounting hardware to maintain optimal stability.
How Tight Should a Ratchet Strap Be to Secure a Load?
Apply tension until the webbing is taut and resists hand pressure, with no perceptible slack. You want the strap tight enough to prevent any cargo movement without crushing or damaging the load. Typically, four to five cranks on the ratchet handle are sufficient. The webbing should lie flat, evenly distributed, and feel firm but not overstressed. Pay attention to the strap material: if fibers crease or stretch noticeably, you have tightened too much. Aim for about 30 to 50 percent of the strap’s working load limit, ensuring the load remains stable and the webbing is tight with no visible slack. To maintain stability, always ensure your hand truck’s load is balanced and centered before finalizing strap tension, as this mirrors the safe load handling practices used with a hand truck. For similar assurance of quality, verify that your ratchet strap’s metal components are as durable as the ball-end bungee cord hardware reviewed for performance. Understanding the receiver hitch’s key parts helps when selecting the correct attachment point for your strap’s cargo hook.
Check These 5 Things Before You Drive Off
Before you start driving, perform a five-point checklist to ensure your load is secure. First, inspect every inch of webbing and hardware for cuts, frays, UV damage, bent hooks, or cracked ratchet housings. Confirm the pawl fully engages and that the release moves smoothly. Replace any straps with damaged stitching or unreadable working load limit (WLL) marks. For the best performance, consider using top ratchet straps that combine durable materials with high breaking strength.
Next, verify the anchor points. Ensure hooks fully seat into approved tie-downs without bends or signs of weakness. Check that straps lie flat without twists, maintaining proper alignment over cargo edges. For carpeted surfaces, placing furniture sliders under cargo can reduce resistance and prevent strap shifting during tightening.
Then, push hard on the load to test for movement. Make sure blocking and bracing stay tight and no loose items can shift during transit. For hitch-mounted carriers, always confirm mounting hardware alignment to prevent load instability.
Count your tiedowns and verify their combined WLL is at least 50 percent of your cargo weight. Arrange them to control forward motion effectively.
Finally, do a full walkaround before climbing in. Recheck everything—slack, damage, hardware engagement—using tension techniques to confirm your setup is roadworthy.
Stop Webbing From Flapping and Re-tension After 10 Miles
After driving the first 10 miles, you should pull over and re-tension your straps. Loads settle quickly, and the initial snugness may loosen as the cargo shifts due to vibration and road movement. Re-tightening your webbing ensures your load stays secure during longer trips. Always check the load ratings to avoid exceeding the strap’s maximum capacity. Also, stop webbing from flapping. Loose tails catch wind, causing fraying as they whip against your vehicle or cargo. Use a bungee, zip tie, or strap-management accessory to secure excess webbing. For securing loose webbing tails, consider using high-quality bungee cords that offer reliable tension without damaging your gear. Fold or roll the webbing neatly and lock the ratchet handle flat to keep everything compact and prevent damage. For heavy or awkward loads, consider using a garden cart to transport them from your vehicle to the worksite, reducing strain on your straps and body. Re-tension every couple of hours or after every 50 to 75 miles to maintain consistent pressure. Proper tension combined with controlling loose webbing material helps keep your load stable throughout the journey.