DIY Cargo Bike: Convert Any Bike Into a Hauler
Thinking about turning your bike into a cargo hauler? The good news is you can do it with most bikes by adding a front loader, a rear-longtail extension, or a trailer. Starting with a sturdy steel frame with disc brakes makes the conversion smoother and safer.
Keep heavy loads low and centered for stability, and reinforce your frame for extra strength. Want all the details? Keep reading.
Which Cargo Bike Conversion Route Fits Your Needs?
Front-loading conversions are ideal if you frequently carry large or oversized loads. Placed at the front of the bike, these conversions maximize cargo capacity by lowering the center of gravity and positioning weight ahead of you. This setup is especially effective for transporting children, as it provides a stable platform and easy access. The flat-pack design allows for bike customization using standard parts, making it versatile for different cargo types. For securing loose items on the platform, consider using top cargo nets designed for truck boxes to ensure stability. However, handling can feel more specialized, requiring some adjustment, especially when steering. This route suits daily commuting involving heavy or bulky items and prioritizes safety and stability for the load. Similarly, when evaluating stability under heavy loads, the four-wheel design offers superior balance and maneuverability compared to traditional two-wheel models, which can be critical for low-speed cargo handling. For those seeking a dedicated solution instead of a conversion, adult bike trailers provide a stable, high-capacity option for carrying gear or passengers.
Choose a Donor Bike for Your Cargo Conversion
The ideal donor bike for your cargo conversion has a rigid steel frame. These frames are easy to cut, weld, and reinforce, making them perfect for a DIY hauling machine. Use a bike with a wheel size matching your main bike—most commonly 26 inches—since this simplifies geometry and prevents custom drivetrain issues. Disc brakes are essential because cargo loads demand strong stopping power; choose a donor with sturdy brake mounts to handle the additional weight. Open dropouts and 135 mm rear spacing make installation smoother and more straightforward. When selecting a donor, it is helpful to read motorcycle trailer reviews that emphasize the importance of a robust frame and reliable braking systems for heavy loads. Similarly, consider the wheelbarrow’s steel tray and pneumatic tire for high-capacity garden hauling, as it prioritizes durability over maneuverability for heavy loads.
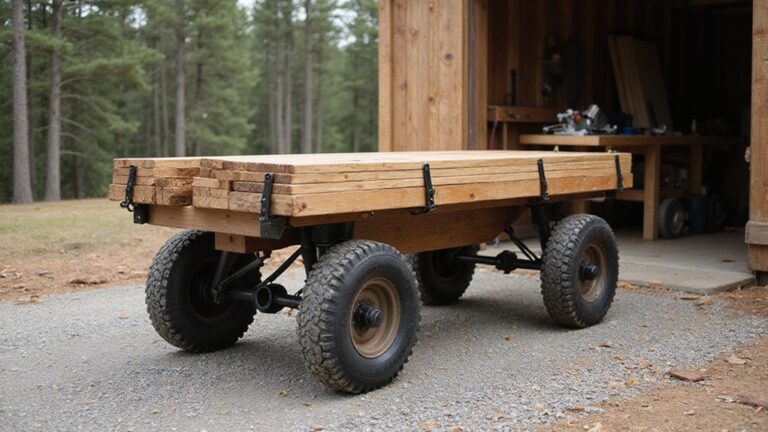
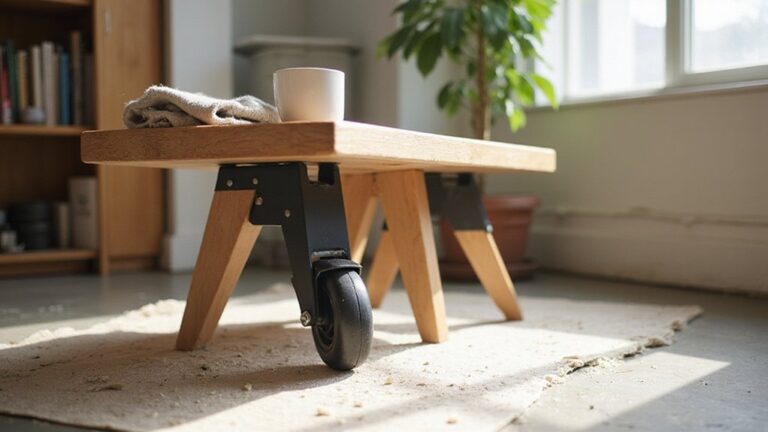
Look for older hardtail mountain bikes on secondhand markets, as they often meet these criteria. Focus on finding a rust-free, straight rear triangle rather than worrying about cosmetic flaws. This type of donor bike provides a solid foundation for attaching your cargo components and practicing safer riding techniques. For moving heavy items, top furniture dollies offer a similar principle of sturdy construction and easy maneuverability to assist with lifting and transporting loads.
Front-Load vs. Rear-Longtail: Which One Is Right for You?
A front-loader is ideal if you need to haul bulky loads or frequently transport children and pets. Its low, visible cargo area offers stability at stops and constant visual contact with your passengers. The front-load design keeps everything close to the ground, making loading easier and safer, especially when handling large or awkward items. It does require a short adjustment period because of linkage steering, but this trade-off makes for a more stable ride during stop-and-go traffic. For securing your cargo during these trips, you should consider using top ratchet straps for quality and performance. This style of bike also pairs well with accessories like insulated cooler carts designed for heavy-duty toting. For additional peace of mind, using a cargo net can further keep loose items from shifting during transport.
In contrast, a rear-longtail bike handles more like a traditional bicycle, giving you a nimble and familiar riding experience. They are narrower, making storage and maneuvering simpler in tight spaces. Plus, most accept standard bike accessories like panniers, which expand their carrying capacity without adding bulk. However, longtails have limited visibility of rear passengers, and loading active kids demands more vigilance. They are better suited for shorter trips and lighter cargo.
For bulky loads or regular family hauling, a front-loader offers more stability and capacity. If your priority is a commuter-friendly bike with decent space and easier handling, a longtail suits your needs better.
The Simplest Route: Add a Bike Trailer for Instant Hauling
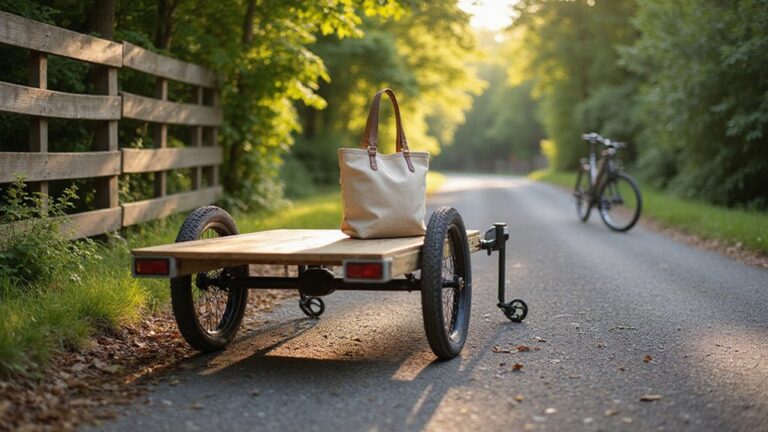
Adding a bike trailer is the simplest way to instantly expand your cargo capacity without buying a new bike. Most trailers attach to your bike’s rear axle or chainstay using a straightforward hitch. Before purchasing, check whether your bike has compatible brakes, especially if you have disc or rim brakes, as some setups can interfere. Standard trailers typically hold between 40 and 75 pounds, but unbraked models are limited to around 100 pounds according to ASTM standards. For heavier loads, choose a trailer with brakes and a sturdy axle mount. Keep the load low and centered to ensure stability during rides. Regularly inspect the hitch pins and safety straps before every trip to avoid accidents. Most quick-release axles are compatible, but if your bike has open dropouts or a non-standard drivetrain, verify fit before buying. For transporting unusual cargo like a kayak, look for a dedicated bike trailer with a long j-boom and secure tie-downs. Using a trailer with a stem caster wheel can improve maneuverability on tight turns. This solution lets you haul groceries, camping supplies, or tools instantly, without making permanent modifications to your bike frame. You can also build a DIY furniture dolly to create a sturdy, customized platform for your trailer.
What Tools and Materials Do You Actually Need?
To build your cargo bike frame, you’ll need a welder, angle grinder, drill, and basic hand tools like screwdrivers and wrenches. These tools help you cut, shape, and assemble the custom steel tubing, flat bar, and angle iron for the frame and brackets. A donor bike is essential as a source for the original frame, wheels, and forks. For hardware, stock up on bolts, nuts, washers, and threaded rods to secure components and reinforce load points. Use measuring tools such as a ruler, tape measure, and spirit level to ensure everything aligns correctly and stays square during assembly. Before finalizing any attachment points, consider using truck bed extender safety principles to ensure your cargo platform is securely fastened and stable under load. For additional security, applying receiver hitch lock principles can prevent your platform from detaching while riding over rough terrain.
In addition to the structural components, you’ll want drivetrain parts like chain extensions and longer brake cables to handle the added weight safely. Hardware like strong cargo racks or baskets, a durable kickstand for stability, and safety straps for securing loads are also necessary. Before starting any cutting or welding, always wear your welding mask, gloves, and eye protection to stay safe during fabrication.
Build a Simple Rear Longtail Conversion, Step by Step
To build a simple rear longtail conversion, start by selecting compatible donor bikes that match your main bike’s wheel size. This ensures the rear triangle aligns properly. Next, strip both frames—the main bike and donor frame—removing the donor’s head tube while keeping its rear section intact.
Dry-fit the donor rear triangle onto your main bike’s dropouts, using the bottom bracket area as a secure anchor point. Weld or bolt steel tubing diagonally to create a rigid extension, which maintains structural integrity. Reinforce the tail with cross-members to prevent wobbling and add stability. For additional support, 3/4″ tubes reinforced with 5/8″ stubs can be used to brace the extended frame.
Extend the chain length sufficiently to accommodate the new extended length, and check the tension thoroughly before riding; a slack chain can be dangerous under load. Replace the shifter cables with longer ones to accommodate the extended frame. Then, bolt a wood platform deck onto the rack to serve as a cargo area. Pump up the rear tire to the proper pressure because the additional weight demands more support. Finish the build by aligning the deck and securely fastening all hardware so everything stays tight during use.
Add These Safety Upgrades Before Hauling Heavy or Child Cargo
To ensure safety when hauling heavy or child cargo, you need to make specific upgrades before your ride. First, secure every child with a proper 3-point or 5-point harness. Unrestrained kids can be thrown from a cargo box even at low speeds, so proper restraints are essential. Fit helmets snugly for each rider and check the fit before every trip to prevent unsafe movement.
Install footrests and spoke guards to minimize the risk of foot or leg entanglement with the wheel. Your bike’s brakes must be capable of handling extra weight; hydraulic disc brakes are a strong, reliable choice. Add lights, reflectors, and a bell to boost visibility, and consider side mirrors to improve rear awareness. Safety gear such as handrails or enclosed cargo boxes help keep limbs contained during transit.
Finally, practice handling your loaded bike in a safe area before taking it into traffic. Rider training can significantly improve your control and confidence with heavier loads, making every trip safer for what matters most.
How to Distribute Weight for a Stable, Balanced Ride
To keep your cargo bike stable under load, place heavy items low and near the center of the bike. This lowers the center of gravity and reduces sway, making handling easier and safer. Focus on distributing dense items inside the frame triangle or close to the axle to maintain balance. Light, bulky loads can be positioned higher since they influence the bike’s stability less. For truck owners who use similar principles, a Top Bed Extender can help keep heavy items near the tailgate for better weight distribution. Because commercial truck straps use similar tensioning principles, you can adapt a ratchet strap system to secure tall cargo on your bike platform. Bias the weight towards the front, not behind the rear axle. Rear-heavy loads can make steering unpredictable and difficult to control. Keep the load balanced left to right by dividing heavy items evenly across both panniers or storage areas. Uneven side loading pulls the bike off line and complicates steering. Using a receiver hitch lock can secure a rack platform to prevent shifting during transit.
Distribute cargo between the front and rear of the bike to achieve a stable ride. A balanced load keeps the center of gravity within the wheelbase, reducing surprises during braking or climbs. Before riding, perform a low-speed test. If you notice pulling or wobbling, reposition the load lower and more centered. Always reassess your load distribution whenever your cargo changes.
Common Mistakes DIY Builders Make (and How to Avoid Them)
Balancing the weight is only part of the process; your frame and hardware must also withstand the loads you place on them. Skipping proper frame reinforcement can cause underestimating frame stress, leading to cracks or failure over time. Weak welds at critical points such as the head tube or bottom bracket tend to crack quickly under repeated loads. Caster wheels, for instance, distribute heavy loads across a pivoting fork to prevent stress concentration on a single point, a principle you can apply to your bike’s attachment points.
Always verify the fatigue limits of your bike frame before modifying it. Standard frames may not be designed for heavy-duty cargo loads. Instead, choose cargo-rated designs with proven durability. Regularly inspect joints and welds for signs of fatigue or damage—early detection can save you from dangerous failures. For additional guidance, consider studying DIY PVC beach cart plans that use lightweight yet reinforced structural methods. For those needing a stable platform, a top adult tricycle offers a ready-made cargo-rated frame with balanced weight distribution.
When adding load-bearing attachments, avoid overloading attachment points, as this can ovalize tubes and loosen fasteners. Use backing plates to distribute forces evenly and tighten fasteners to manufacturer-recommended torque specs. Improper load distribution can transfer stress into unsupported frame areas, increasing the risk of collapse.
Never weld or drill into your frame without conducting proper load analysis. Hidden stress concentrations can cause unpredictable failures. Test your build incrementally, starting with short test rides to observe how it handles loads. Keep modifications minimal, check for paint line cracks or unusual noises, and retorque hardware after initial rides to ensure everything stays secure.