DIY Bike Trailer: Build a Sturdy Hauler at Home
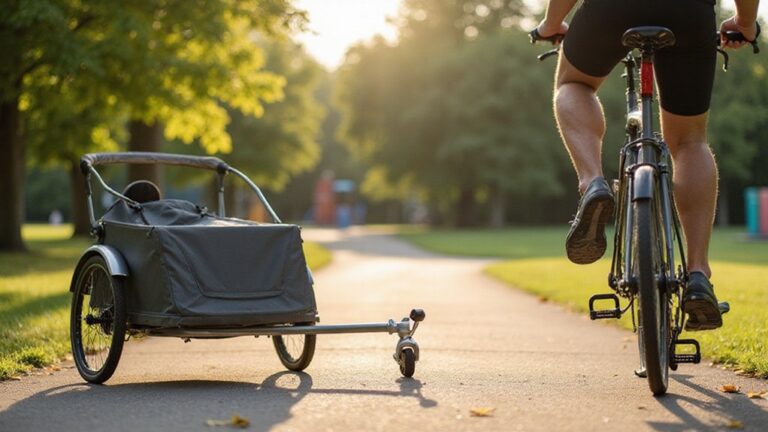
Thinking about building a bike trailer that’s both sturdy and budget-friendly? By using steel tubing, plywood, and reused wheels, you can create a reliable hauler that saves you up to $400 compared to store-bought options.
In this guide, you’ll learn how to assemble a reinforced frame, attach a pivot hitch, and test your trailer for stability before hitting the road.
Everything you need to know is right below.
What Materials and Tools Do You Need for a Sturdy DIY Bike Trailer?
To build a sturdy DIY bike trailer, you’ll need a range of specific materials and tools. For the frame, steel tubing provides maximum strength and durability, making it ideal for support. Aluminum tubing is lighter but requires careful joining techniques due to its softer nature. Alternatively, you can use dimensional lumber or oak for no-weld builds, which are easier to shape and assemble but may not be as strong. Additionally, using a reliable binding method, such as top ratchet straps, ensures loads are secured tightly and remain stable during transit. A roof rack system designed for two kayaks uses similar principles of secure crossbar mounting to evenly distribute weight across the trailer frame. For moving the trailer across carpeted surfaces, consider using top furniture sliders to reduce friction and protect flooring.
Select exterior-grade plywood for the trailer deck because it resists moisture and flexing, ensuring longevity. For the axle, reuse 16-inch or 20-inch bike wheels, which are common sizes and readily available. Pair these wheels with a solid steel rod to serve as the axle shaft, providing reliable support during rides.
Ensure your hitch is compatible with your bike’s rear axle—this is essential for stability and safety. You’ll also need layout tools such as a tape measure and marking chalk, along with a drill, saws, wrenches, and safety glasses. Locking washers are recommended to prevent vibration-induced loosening of bolts and nuts. With these materials and tools at hand, you’re prepared to start building a robust, safe, and functional bike trailer.
Why Build a DIY Bike Trailer Instead of Buying One?
Building your own bike trailer allows you to customize it precisely to your needs, control costs, and ensure ease of maintenance. Although it takes more time than buying a ready-made model, you can typically save between $150 and $400 depending on what tools you already own and the quality of parts you select. Similarly, selecting high-quality wheelie tool carts with durable casters can give you ideas for robust wheel assemblies on your trailer.
With a DIY trailer, you decide the size, shape, and features—making it perfect for carrying groceries, camping gear, pets, or other cargo. You can reinforce the frame to handle heavier loads and select simple, readily available parts like wheels, bearings, and hitches, which makes repairs straightforward and less costly over time. To ensure the trailer sits level when attached to your bike, you can use a tow hitch drop measurement guide to determine the correct coupler height for a stable ride. Since you build it yourself, you gain confidence in its safety and durability, knowing exactly how it was constructed and how each component functions. While more time-consuming upfront, this approach offers a hands-on experience and a trailer that fits your bike and lifestyle perfectly. For moving heavy cargo, you can also look into how furniture dollies for easy moving are designed with robust frames and smooth-rolling wheels for stable transport.
How to Build the Frame and Wheel Mounts for a DIY Bike Trailer?
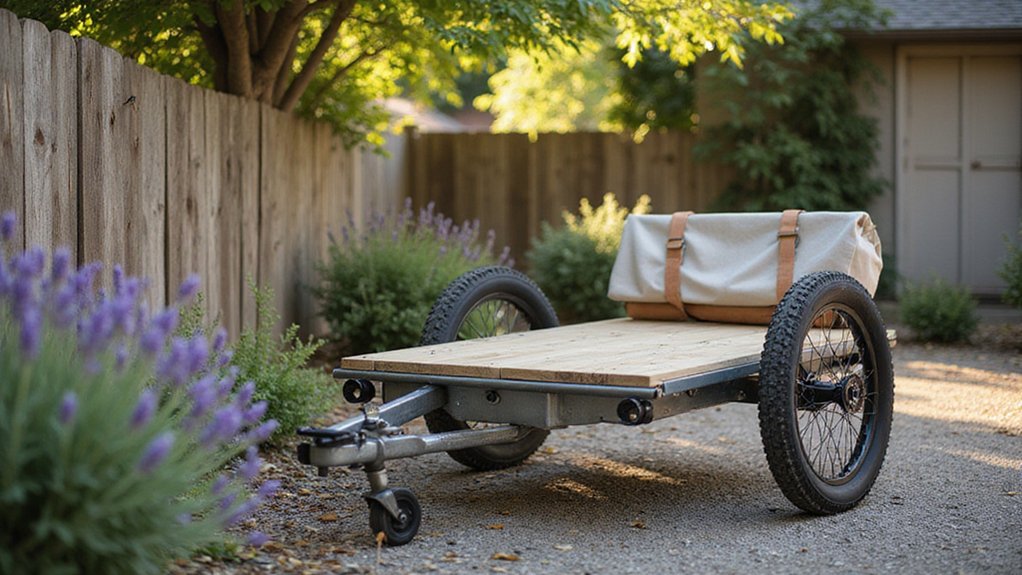
To build the frame and wheel mounts for a DIY bike trailer, start by cutting steel conduit or angle iron into two main side rails and several crossmembers. These components should be assembled into a rectangular or A-shape layout, then bolted securely together. For added strength, include metal gussets or pipe couplers at the corners and around wheel mounts. This reinforcement helps prevent flexing during turns and rough terrain. For a durable design, consider using collapsible folding wagon construction techniques to simplify storage when the trailer is not in use. For example, when tightening bolts on the wheel mounts, use a torque wrench to ensure proper tension and avoid stripping threads, similar to the best practices for securing a wheelbarrow tire.
For the wheel mounts, use slotted angle-iron hangers or dropout-style brackets that can be bolted firmly to the main frame. Ensure the wheel axles are centered by carefully aligning the axle slots, which helps both wheels track straight and parallel. Lock washers are essential here; they keep the hardware tight despite vibration and bouncing. Choosing a wider wheelbase, similar to that of a pull wagon, can improve stability when carrying heavy loads at higher speeds.
Overbuilding the axle area is crucial because it must support both static cargo weight and dynamic shocks from bumps and uneven surfaces. After assembly, test ride the trailer and re-tighten all joints as needed. Misaligned or loosely secured components can cause instability and reduce safety during use.
How to Build a Pivot Hitch That Won’t Bind on Turns?
Ensuring your pivot hitch won’t bind on turns requires precise geometry and proper hardware setup. The pivot axis should be vertical or nearly vertical and centered at the bike-trailer connection point. This allows the trailer to swing freely left and right without conflicting with wheel lean or frame flex. Alignment is crucial—make sure the pivot remains perpendicular to your travel direction and clear of the wheel or seatpost. Over-tightening the bolt can prevent rotation, causing binding, while too much slack results in wobbling. Using nylon washers and a lock nut helps achieve smooth, adjustable tension. Load balance also matters: heavy cargo in tight corners can reveal binding early, so always test with a loaded trailer. Aim for at least 60 degrees of yaw rotation each way, along with 20 degrees of pitch and roll, to prevent jackknifing. A ball-style pivot helps keep the coupling upright as you lean, reducing the chance of binding. Regularly check your hardware for wear and looseness to maintain smooth operation. Applying a thin layer of furniture sliders to the pivot point can further reduce friction and prevent binding during tight turns. For extra stability, you can also secure the load using rope and straps just as you would when transporting a kayak without a roof rack. Additionally, performing a final safety check on all pivot hardware and connections ensures long-term reliability and prevents unexpected binding.
How to Test Your DIY Bike Trailer Before Your First Cargo Run?
Before your first cargo run, perform a comprehensive pre-ride inspection of your DIY bike trailer. Start by examining the frame closely for cracks, bends, or loose welds, as these can compromise safety. Tighten all bolts, nuts, and fasteners to ensure nothing is loose. Confirm that the hitch and tow arm connect firmly with no perceptible play, preventing hitch failure during use.
Next, spin each wheel to check for smooth, free rotation without wobbling or grinding noises. Inflate the tires to the recommended PSI and inspect for cuts, bulges, or embedded debris. Roll the empty trailer over flat ground and observe for sway, fishtailing, or unusual sounds, which may indicate alignment or suspension issues. Recheck all connections after this initial test.
Proceed with an incremental load test by adding weight gradually, starting with a light, centered load. After each addition, re-examine the trailer for signs of frame flexing, wheel wobble, or steering instability. Be alert for abnormal noises or movements; stopping immediately at any red flags helps prevent accidents.
Finally, ensure the loaded trailer operates safely with your bicycle: verify that it does not interfere with your brakes or steering, secure all cargo tightly, and test the brakes while under load. Conduct a walkaround to check for loose parts, proper tire pressure, and any visibility aids. Regularly inspecting and maintaining your trailer helps prevent surprises on the road.