How to Install a Hitch Stabilizer: Stop the Wobble
Having trouble with a shaky or wobbly trailer hitch? The culprit is often an inadequate stabilizer that needs proper installation.
By choosing the right type and securing it correctly, you can significantly reduce that annoying wobble.
Keep reading to learn how to install a hitch stabilizer effectively and keep your trailer steady on the road.
What a Hitch Stabilizer Does (and Why You Need One)
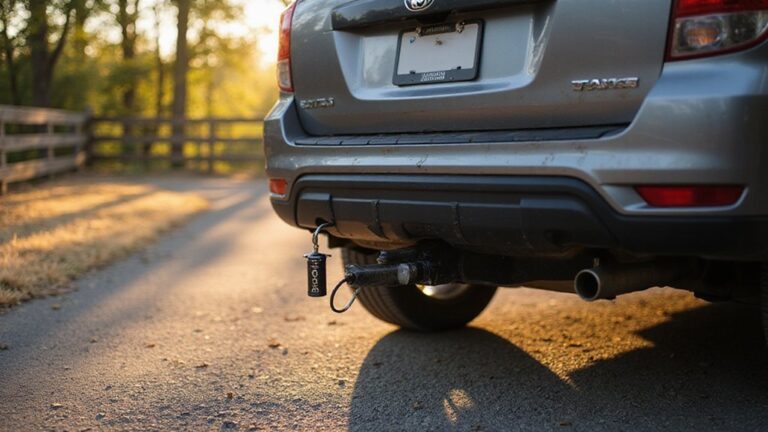
A hitch stabilizer is designed to tighten the connection between your trailer and towing vehicle by clamping the drawbar or accessory shank securely inside the receiver. This clamp action minimizes the gap that causes rocking and wobbling during towing, resulting in a more stable link. As a result, you’ll experience reduced vibrations and less noise, making long drives smoother and more comfortable. It’s an effective and straightforward solution for eliminating metal-on-metal movement that can feel irritating and distracting. However, keep in mind that a hitch stabilizer only controls play at the connection point; it does not address issues related to your trailer’s overall weight distribution. For moving heavy equipment, a furniture dolly can help load items onto the trailer with less strain. For additional support, using top ratchet straps can further secure your load and enhance overall performance. You can also apply DIY tool cart techniques to build custom storage solutions for your stabilizer and accessories. Always verify your weight limits and ensure your chain compatibility for a safe and proper setup. When used with a correctly matched towing rig, a hitch stabilizer provides valuable support but isn’t a substitute for proper load balance and safety checks.
Pick the Right Stabilizer for Your Hitch Size
Match the stabilizer size to your receiver opening, not the ball or coupler. A 1.25-inch stabilizer fits smaller Class I and II receivers, while a 2-inch unit is suitable for most Class II, III, and IV hitches. Always check the exact receiver dimensions because small differences in clearance can affect how the clamp seats. For a 2.5-inch receiver, choose a heavy-duty stabilizer of the same size; standard 2-inch models won’t fit. Using the correct size is crucial for towing safety. An improperly matched stabilizer can loosen over time and fail to control wobble, reducing stability and increasing wear. Confirm your receiver’s opening and class before purchasing a stabilizer to ensure the right fit. To further reduce noise and movement during towing, opt for a model built with rust-resistant alloy steel and rubber-coated bolts, which withstand harsh weather and bumps. For extra stability, consider using cam buckle straps to secure loose components and eliminate rattling during transit. Knowing the right stabilizer size is similar to determining wheelbarrow capacity for yard work, where matching component dimensions prevents inefficiency and damage. Building your own golf push cart instead of buying one can save money, but you must match receiver dimensions exactly as you would when fabricating a hitch stabilizer for a custom project.
Pre-Installation Checks to Avoid Hassle Later
Before installing the stabilizer, you should inspect your hitch and receiver for any damage or wear. Look for cracks, bends, or worn welds, as these can weaken the connection and lead to stabilizer failure. An inspection checklist can help you catch these issues early. Measure the receiver opening with calipers to ensure it matches the stabilizer’s clamp size—an improper fit can cause poor contact and reduce effectiveness. Clean all dirt, rust, and grease from the receiver and contact surfaces to ensure the stabilizer seats fully and operates smoothly. For truck owners who also transport kayaks, using a reliable hitch carrier can help prevent similar stability issues with cargo. Understanding appliance dolly components can further aid in recognizing how weight distribution and secure clamping prevent unwanted movement during transport.
Safety precautions are essential: park on level ground, set the parking brake, and chock the wheels to prevent movement. Check that mounting bolts are tight, and examine all hardware for missing or corrosion damage. Confirm the ball mount is secure, and verify that the coupler closes fully if a trailer is attached. Make sure the hitch is not overloaded beyond its rated tongue weight to avoid potential failures. Selecting a unit with a comfortable padded seat can also reduce fatigue during long hauling sessions, ensuring you remain focused on proper setup. Taking these few minutes to perform thorough pre-installation checks helps prevent wobble, damage, or failure during use.
Install a U-Bolt and Plate Hitch Stabilizer
To install the U-bolt and plate hitch stabilizer, follow these steps:
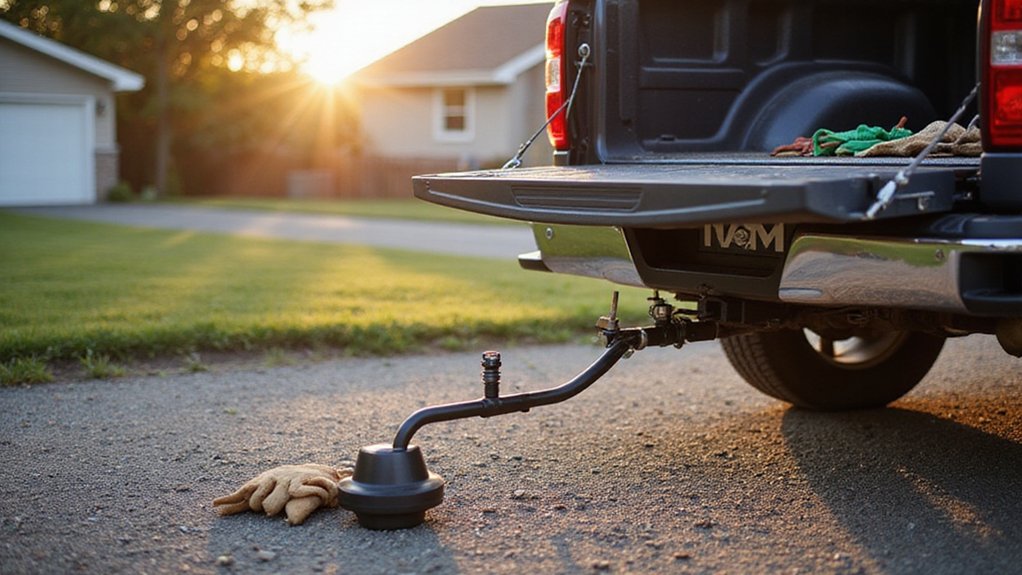
First, insert your hitch accessory fully into the receiver. Wrap the U-bolt around the receiver and the shank, aligning the threaded ends with the holes in the stabilizer plate. Slide the stabilizer plate onto the U-bolt, making sure the raised side faces away from the shank. Place flat washers and spring washers onto the threaded ends of the U-bolt, then hand-tighten the nuts.
Next, tighten both nuts evenly with a wrench—typically a 3/4 inch or 14mm size—to around 20 to 30 foot-pounds of torque. Proper tightening compresses the stabilizer, eliminating side-to-side and up-and-down movement, which reduces rattling and wobbling. Verify that the plate seats squarely against the receiver and does not pinch or bind. After tightening, press on the hitch accessory to confirm there is no remaining movement. As with a truck bed extender, always perform a final safety check by inspecting all connections before driving. Use a torque wrench to ensure the nuts are tightened to the specified range for a secure fit.
Ensure the assembly fits your receiver size, which is usually either 1.25-inch or 2-inch, for a secure fit. Using corrosion-resistant materials like zinc-plated steel can prolong the lifespan of the stabilizer. Proper installation is key to preventing unwanted movement and ensuring a smooth towing experience. For additional stability, consider matching the mounting hardware and alignment techniques used when securing a cargo net in a vehicle’s receiver.
Install an Anti-Rattle Pin Hitch Stabilizer
Installing an anti-rattle pin hitch stabilizer effectively reduces side-to-side and vertical movement of your trailer accessory. The key is ensuring proper hardware compatibility. Your receiver must be 2 inches in size, and the pin must align correctly with your accessory’s holes. Insert the accessory into the receiver, then slide the pin fully through both the accessory and the receiver. Add washers, sleeves, or lock components in the sequence specified by the manufacturer. Using a wrench or socket, tighten the assembly to between 20 and 30 foot-pounds, or follow your unit’s designated torque limit. Be careful not to over-tighten; the goal is snugness, not force. Before beginning installation, inspect the receiver for rust or debris, as these can weaken grip and lead to unwanted movement. For ongoing maintenance, periodically re-tighten the pin and lubricate the threads to prevent seizing. If you still experience wobble, double-check the alignment and never force the pin where it does not easily slide. For a snug fit that eliminates noise, the U-bolt and base plate design securely locks around the hitch loop, requiring only an adjustable wrench for final tightening. Some haulers find that using a stabilizer on an electric tricycle also improves cargo safety when towing heavy loads. Push or pull wagons often benefit from a similar anti-rattle mechanism to keep loads stable on uneven terrain.
Install a Bracket-and-Bolt Hitch Stabilizer
To install a bracket-and-bolt hitch stabilizer, start by sliding the bracket over your hitch gusset, positioning it snugly against the weld line about an inch from the bottom. Use a clamp to hold it squarely in place before marking the holes to drill. Common mistakes include drilling without a pilot hole or misaligning the bracket, which can throw off the stabilizer bars and reduce effectiveness. Once the holes are marked, drill them precisely and insert the supplied bolt, tightening it firmly. On the frame side, attach the stabilizer bars, then mark the frame rail holes using the bracket as a template. Drill these holes carefully to ensure a proper fit. To achieve proper fit, follow the required drilling sequence of using a 5/8″ bit for the final pre-drilled hole. Lastly, set the jam nut tab to lock the adjustment and prevent movement. To maintain the stabilizer, check bolt tightness periodically and lubricate moving parts to prevent rust. Always verify that the ratchet mechanism is fully disengaged before adjusting the bars to avoid binding under tension. This method creates a rigid connection that effectively eliminates receiver wobble. Before tightening any bolts, ensure the strap webbing is flat and untwisted to avoid uneven load stress. For maximum stability, pair this setup with a heavy-duty caster rated for your trailer’s tongue weight to reduce side-to-side stress on the hitch assembly.
Final Checks: Test Your Hitch Stabilizer for Wobble
Before heading out, perform final checks to ensure your hitch stabilizer is properly secured and effective. Grasp the mounted accessory and shake it side to side and up and down to confirm all wobble has been eliminated. Check for any play where the shank enters the receiver tube; there should be no movement at all. Use the correct wrench to tighten all fasteners—tighten until they are snug and the movement stops. This U-bolt stabilizer offers more secure fitment where a traditional anti-rattle collar cannot be used. For long-lasting reliability, choose a model with heavy duty steel construction that resists bending under heavy loads. When selecting a model, consider that a rolling cooler cart often benefits from the same anti-wobble technology to keep your load stable.
Next, conduct a vibration analysis by driving a short distance. Listen carefully for any clunks or rattles that might indicate looseness. After stopping, recheck the torque on all fasteners and retighten if vibrations seem to settle parts into place. Inspect the clearance around the stabilizer, ensuring it does not contact the bumper or exhaust. Similar to how tire repair requires a snug bead seal, this stabilizer must remain tight against the receiver to prevent any movement.
Verify that the stabilizer sits squarely against the receiver and that the shank is fully inserted. The accessory should remain centered without tilting. After traveling a few miles, recheck all hardware to confirm your setup stays solid and secure.