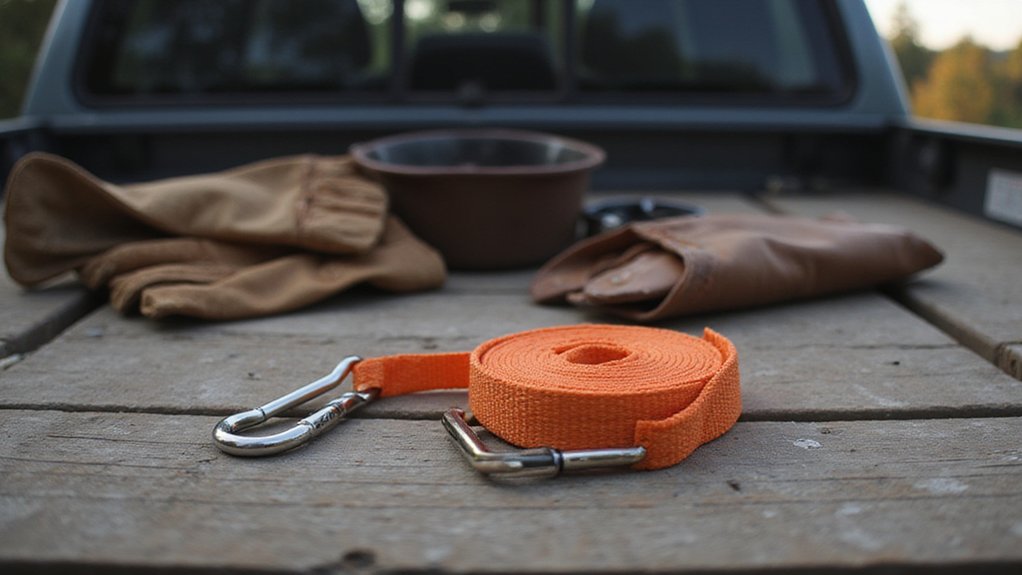
How to Use Rhino Ratchet Straps: Step-by-Step Guide
Getting your ratchet straps just right might seem tricky, but it’s all about following a few simple steps. Knowing how to inspect, secure, and tighten them properly ensures your load stays safe and stable during transport.
By the end of this, you’ll be able to confidently use Rhino ratchet straps, making your hauling both easier and more secure. Keep reading for all the tips you need to master the process.
Inspect Webbing, Hooks, and Ratchet Mechanism Before Every Use
Before using a rhino ratchet strap, you must conduct a thorough visual and functional inspection. Start by running your hands along the full length of the webbing to detect cuts, tears, or fraying. Look for signs of material degradation such as burns, melting, or chemical stains, which can weaken the strap. Examine both sides of the webbing, paying special attention to edges and seams where damage commonly hides. Check all stitching for loose threads or broken stitches that could compromise integrity. Ensure the working load limit label is present and clearly readable, providing your safety reference. Inspect hooks carefully for cracks, bends, or corrosion, as compromised hooks can fail under load. Open and close the ratchet handle to verify it locks smoothly and that the pawl fully engages each time. If you notice any damage—like frayed fibers, bent hooks, or jammed gears—do not use the strap. Inspecting your strap connections is similar to evaluating how a bike trailer attaches securely to a bicycle to prevent detachment during transit. For secure attachment, look for models with a reinforced coupler system that resists shifting on uneven terrain. Only pass a strap that has passed both visual and functional checks to ensure safe operation. For efficient hauling, consider integrating your straps with a collapsible folding wagon to simplify moving heavy loads.
Select Ratchet Strap Anchor Points That Can Handle the Load
Choose anchor points rated for the load you’re securing. Always match the anchor point’s working load limit to your strap’s capacity, ensuring the weakest component in the system sets your maximum. Use manufactured anchor points like D-rings or stake pockets; never rely on unrated or improvised attachments. Distribute the load evenly across multiple anchor points, especially for heavy cargo, to prevent overloading a single spot. Make sure each anchor is rated for the direction of pull—vertical, lateral, or upward—and inspect for cracks, rust, or looseness before tightening the strap. After tensioning, double-check that everything remains secure and properly seated. For lighter or oddly shaped loads, consider a top garden cart with built-in tie-down points that match your strap’s working load limit. When securing a kayak, always use soft foam blocks to protect the vehicle’s roof and provide a stable base for the straps. For maximum comfort during transport, consider using adult tricycles that offer stable, low-center-of-gravity platforms ideal for heavy or awkward cargo.
Thread the Webbing Through the Ratchet Without Twists
Feeding the webbing through the ratchet without twists is essential for proper tension and safety. Twisted webbing can cause uneven load distribution and may damage your strap under stress. To avoid this, fully open the ratchet until the spool is completely accessible. This ensures the ratchet is aligned correctly and helps prevent jams. Choosing between different dolly types for moving bulky items often depends on the same principle of maintaining secure, even contact with the load.
Insert the loose end of the webbing through the center slot from underneath. Then, pull it back over the axle in the same direction it entered. Keep the webbing flat and straight as it passes through, avoiding folds or overlaps. Twists can cause snags inside the mechanism, decreasing performance and risking jamming. For instance, using a sturdy yard cart to haul heavy loads requires the same attention to strap alignment to prevent shifting. Experienced movers recommend using moving straps to reduce fatigue and lift heavy items with better body mechanics.
Pull several inches of webbing slack through before tightening. Check that the webbing is centered in the spool slot and runs in a straight line without crossing itself. Inspect carefully for knots or twists at this stage. A smooth, twist-free threading path allows the ratchet to tighten effortlessly and reduces the chance of mechanical jams. Proper threading is critical for effective tensioning because it ensures the windlass channel functions as intended without obstruction.
Tighten the Ratchet Strap Gradually Without Overdoing It
Start by pulling the strap hand-tight to remove most of the slack before touching the ratchet handle. Keep only a small gap for the mechanism to take up. Then, tighten gradually with small, controlled strokes. Use short, even pumps rather than forcing the handle. Cycle it slowly to build tension step by step, ensuring consistent pressure around your cargo. Aim for firm, uniform tension rather than maximum tightness. Stop if the handle becomes difficult to operate or if the strap starts to crease. Over-tightening risks damaging your cargo, straps, or anchor points. While tightening, check the webbing for bunching, twisting, or resistance. Good tension control means stopping at a snug, secure level, not forcing the strap to the point of damage. Listen for cracking sounds or watch for straps digging into surfaces—both indicators that you have tightened too much. Always keep the webbing flat and untwisted against the cargo to prevent uneven load distribution and potential strap failure. Using a high-quality furniture dolly can help stabilize heavy items so the strap tension remains even during transport. For heavier loads, ensure your vehicle’s receiver hitch is rated for the weight by verifying its Class 3 or Class 4 capacity before relying on the strap tension.
Secure Loose Webbing and Recheck Tension After a Few Miles
Once you’ve achieved the correct tension on your webbing, it’s crucial to secure the loose strap end before you start driving. Tuck or tie off any excess webbing so it won’t flap in the wind or come into contact with moving parts. Use the built-in strap keeper, a bungee, or zip tie to hold the loose end in place. Make sure the tail is kept away from wheels, sharp edges, and the ratchet handle path to prevent damage or loosening during transit. Choosing the right gear, such as a hand truck versus dolly, can also reduce cargo shifting when moving heavy loads. After traveling a few miles, recheck the webbing tension. Road vibrations and cargo settling can cause webbing to loosen. Stop within 5 to 10 miles and inspect for slack or shifting cargo. Look for loose hooks, pulled webbing threads, or webbing that has become less tight. Perform a final safety check on all strap connections, similar to the procedure when installing a truck bed extender. If the tension has decreased, re-tighten the strap securely. Always secure the tail again after adjusting to prevent it from coming loose later during your journey. Understanding the receiver hitch’s main parts can help you choose a compatible mounting point for secure anchoring.
Release, Remove, and Store Your Ratchet Straps Properly
To properly release and store your ratchet straps, start by fully opening the ratchet until the mechanism lies flat, which disengages the locking pawl. Then, press the release tab before pulling the webbing back through the spindle. Keep control of the strap during this process to prevent snap-back injuries. Gradually work the slack off to avoid binding, and only detach the hooks once the strap is completely loose. Always keep your hands away from pinch points to avoid injuries. To ensure safe operation, always maintain a firm grip on the webbing to reduce the risk of recoil.
After removal, inspect the webbing for cuts, frayed fibers, or signs of fatigue that could compromise its strength. Check the ratchet hardware for any damage or corrosion. Clean any dirt or moisture off the strap and dry it thoroughly to prevent mildew growth. Coil the webbing neatly and secure it with a tie to prevent tangling. Store your straps in designated containers away from direct sunlight, ensuring they stay organized and ready for future use.