How to Hook Up a Schwinn Bike Trailer: Complete Guide
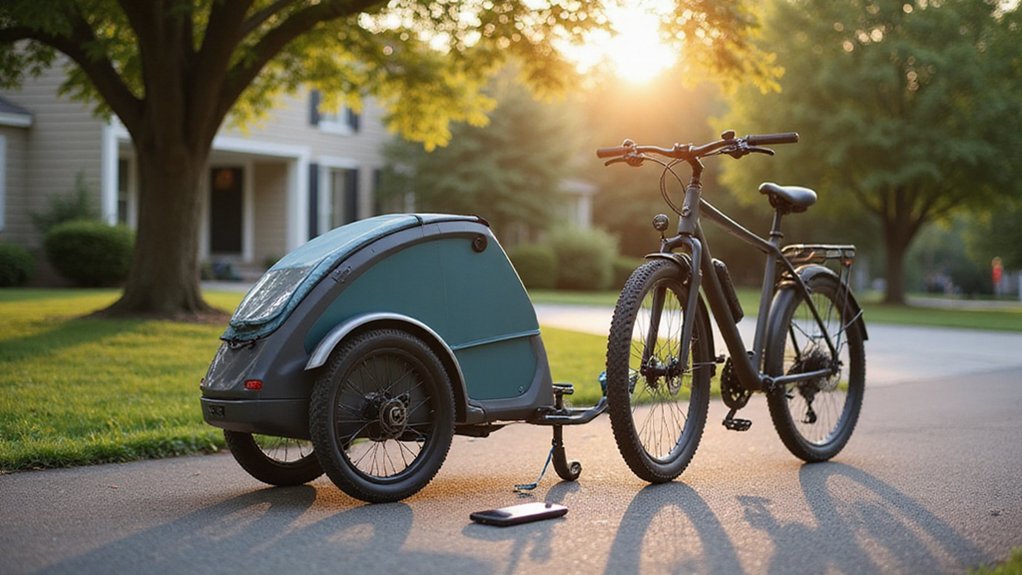
If you’re wondering how to properly hook up your Schwinn bike trailer, you’re in the right place.
Correct installation ensures safety and smooth towing, preventing common issues like wheel misalignment or loose connections.
By following a few key steps, you’ll be able to attach your trailer securely and confidently.
Keep reading for a simple, step-by-step guide to get you set up correctly.
Tools and Parts Needed for Hitch Installation
To install your Schwinn bike trailer, you’ll need a Schwinn-compatible coupler kit, which includes a coupler plate, lock washer, and locking pin—these are essential for connecting the tow arm to your bike. Use a wrench that fits your rear wheel nut and an adjustable wrench for tightening bolts and nuts. Check your axle type—nutted, quick-release, or thru-axle—and select the correct adapter if necessary. Inspect the lock washer and locking pin before each ride to ensure they are secure, as the trailer’s weight can strain the hitch. Always confirm that the hole alignment between the tow arm and coupler matches before riding, as mismatched parts can cause failure. Additionally, adding a safety strap provides extra security during travel. For extra peace of mind, consider choosing top ratchet straps made from durable webbing to reinforce the connection. Keep all components tight and regularly maintained for safe, reliable performance. For best results, secure the strap by tightening it against the trailer frame to prevent loosening during turns. Performing a final safety check will help ensure all hitch connections are properly locked before you start riding.
Install the Hitch Coupler on Your Rear Axle
Locate your bike’s rear axle attachment point first. For quick-release axles, slide the hitch coupler onto the skewer path. For bolt-on axles, loosen the axle nuts before attaching. Ensure the wheel is fully seated in the dropout to confirm proper alignment. You may need to adjust the dropout to fit the coupler flush against the frame. Position the coupler with its bell-shaped side facing outward. Fit the tab washer into the dropout slot or swivel it if there is no hole. Understanding the receiver hitch components ensures the coupler connects securely to the tow vehicle. Reinsert the skewer or axle hardware and tighten everything securely so the coupler resists movement during towing. This attachment allows you to keep the hitch on without removing it when not in use, as the design is small and unobtrusive. Just as a wheelbarrow is designed for hauling heavy loads with stability, this hitch setup ensures the trailer tracks properly behind the bike. Finally, double-check that the wheel sits straight before locking all components in place. Proper installation ensures the coupler is secure and ready for towing without strain. Always avoid overtightening the nuts to prevent damage to the axle threads, as ratchet strap errors often involve similar misuse of force.
Lock the Trailer Tow Arm Into Position
Once the tow arm is extended underneath the trailer into a horizontal position, align its locking hole with the corresponding one in the trailer bracket. Make sure the arm is fully extended and not forced into alignment, as proper trailer geometry depends on this. Also, hitch compatibility requires the arm to be straight and unobstructed. With the trailer unloaded, slide the retaining pin completely through both holes. Check that the pin passes freely; partial engagement is not secure enough. Then, flip the safety clasp over the pin to lock it in place, ensuring it can’t back out during use. Lightly tug the arm to confirm it is rigid with no movement. This locking mechanism secures your tow arm, so always double-check before each ride and connect the tow arm to the Schwinn trailer hitch when ready. For smoother travel on soft terrain, consider using a beach cart with wheels designed for sandy conditions. Ensure the hitch attaches to the rear axle of your bike and remains in place during normal rides for secure connection. Just as a final safety check prevents loose components on a truck bed extender, regularly inspect the tow arm pin and clasp to confirm they are not worn or damaged. Never exceed the rated load of any attachment point, as overloading the hitch can cause sudden failure.
Connect the Tow Arm to the Schwinn Trailer Hitch
To connect the tow arm to the Schwinn trailer hitch correctly, insert the fully extended tow arm into the hitch receiver of the Schwinn coupler. First, verify that the hitch style matches your tow arm—older and newer Schwinn models may have different coupler designs, and mismatched parts can prevent proper alignment. The tow arm must sit horizontally and be fully seated within the receiver before inserting the pin. For bikes with a quick-release axle, this entire connection can be completed in approximately 1 minute. Proper mounting hardware is essential to ensure the coupler remains tightly attached to the bike frame during use. Reviewing a top trailer hitch basket can help you compare compatible accessories for your setup.
Next, carefully align the pin holes in the tow arm and the hitch receiver. Ensure the holes are in complete alignment to avoid putting stress on the components. If you notice resistance when fitting the pin, do not force it; instead, adjust the angle of the arm slightly until the holes line up smoothly. Before inserting the pin, it is helpful to confirm you have the tools needed for tightening the hitch later.
Once the holes are aligned, push the retaining pin through from the top until it passes completely through both parts. Lock the pin by closing the clasp to prevent it from slipping out. When correctly connected, the tow arm should feel stable and free of wobble, indicating a secure and proper fit.
Why You Need the Safety Strap (and How to Attach It)
To properly attach the safety strap, wrap it around your bike’s rear chainstay or frame—usually the left side is best. Then clip the other end securely to the D-ring on the tow bar. Ensure the strap fits snugly but does not interfere with your wheel, chain, or derailleur. Confirm that the strap cannot slip off the ring by tugging gently. After installing the hitch and locking pin, double-check that the strap remains fully engaged. Replace the strap immediately if you notice fraying, wear, or damaged hardware. This strong safety strap should be replaced if worn or aged, as noted by the manufacturer, ensuring ongoing secure attachment. To further prevent load shifting, always verify that the strap is not routed over sharp edges or unstable anchor points that could cause the connection to fail. Using the safety strap on every ride enhances your bike’s security and prevents accidental detachment. For safely moving heavy loads, consider choosing a furniture dolly that offers a similar level of reliable restraint. Always consult the dolly’s rated weight capacity before loading it, as this determines its maximum safe load.
Final Safety Checks: Clearance, Rotation, and Alignment
To ensure a safe hookup, perform three critical final checks: clearance, rotation, and alignment. First, verify adequate tire clearance between the trailer and your bike’s rear wheel. Spin the wheel by hand to confirm no trailer part contacts the tire, spokes, or brake hardware. Check for any brake interference near the rear brake and derailleur area. Make sure the trailer tongue, coupler, and safety strap do not rub the axle or frame during motion. For added stability, consider using a top-rated lawn mower cart to assist with heavy yard loads. Always secure the connection with a locked trailer hitch pin to prevent accidental detachment during travel. For boats or similar long loads, integrating a Thule roof rack provides a secure alternative to towing.
Next, test the rotation. The hitch must rotate smoothly through its full range without binding. Confirm that yaw, pitch, and roll movements are unrestricted, so the trailer follows turns and bumps cleanly without lifting or shifting your bike’s position.
Finally, check alignment. Center the trailer behind your bike to ensure it tracks straight. Verify that the hitch sits flush and square against the dropout. Recheck the alignment after a short roll test, as minor shifts can occur once the trailer starts moving.
Troubleshooting Common Schwinn Trailer Hookup Problems
If your trailer hookup isn’t fitting properly, several common issues and straightforward fixes can help resolve the problem. First, check the coupler hole. If it’s too small for your axle, file or drill it slightly to ensure a clean, secure fit. For short axles or skewers, swapping in a longer quick-release skewer may be necessary to achieve proper connection. Large-flange axle nuts can also interfere by blocking the coupler; replacing them with lower-profile nuts can provide the needed clearance. Always release the quick release lever before starting and handle parts carefully to avoid risk. For trailer-related projects, you can apply similar cost savings by fabricating your own adapters rather than buying expensive specialty parts. For carpeted floors, top furniture sliders provide a smooth gliding surface that can help move heavy items with less effort.
If the hitch refuses to sit flat against your bike frame, reposition it and inspect for any interfering components such as dropouts or fenders. Using extra washers can improve clearance, but make sure they do not reduce thread engagement, which is critical for secure attachment. In cases where compatibility is a severe issue, using a hub-specific adapter can often solve the problem by ensuring the trailer works with your particular hub type. Avoid making frame modifications unless absolutely essential, as they can weaken the bike’s structure. Ultimately, if these solutions don’t help, trying a different hitch model designed for your bike can often be the best fix.