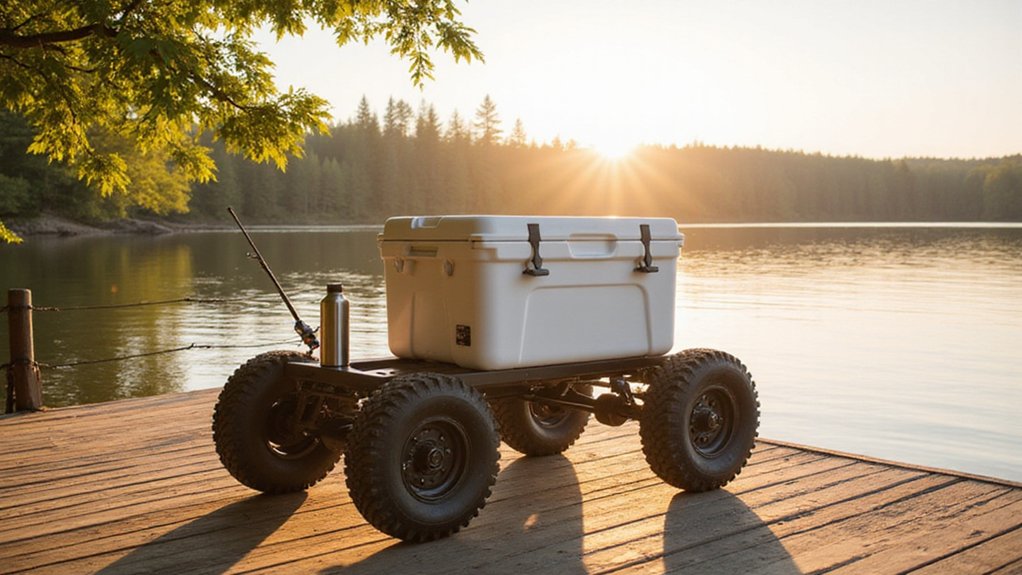
DIY YETI Cooler Cart: Custom Wheels for Your Cooler
Want to make your YETI cooler easier to transport at your next outdoor adventure? Building a simple, sturdy cart using basic materials can cost just $15 to $40 and is surprisingly straightforward.
By customizing the size and choosing the right wheels, you’ll have a durable wheel setup that fits perfectly and handles various terrains. Read on to see how you can build it step by step.
Grab These Materials and Tools for Your DIY Cooler Cart
Gather all the materials and tools listed before starting to ensure a smooth building process and a sturdy cooler cart. Use 2×4 lumber for the main frame, as these provide strong support, and 1×4 boards for the outer shell to create a clean finish. Cedar boards are recommended for outdoor use because they resist weathering better than other woods. Include foam insulation around the cooler to help retain ice longer, which can significantly reduce trips to restock ice and improve fuel efficiency. For a wheelbase that handles heavy loads with ease, review the top furniture dollies to compare caster weight ratings and frame durability before choosing your swivel casters. For additional stability when moving the loaded cart, consider how a bed extender design can help secure tall items from tipping. An appliance dolly typically includes a toe plate and straps for lifting heavy items safely.
For fasteners, pick up exterior wood screws for the frame, pocket hole screws for the joints, and wood glue to reinforce connections. Make sure to have swivel casters for easy maneuverability and locking casters for stability when the cart is stationary. For cutting and drilling, gather a circular saw or miter saw, drill bits, and a pocket hole jig. Measure accurately with a tape measure and a speed square, and apply exterior paint or sealer to protect the wood from weather damage. Finish the build by attaching a handle to facilitate steering and transportation.
Pick the Best Wheels for Sand, Gravel, or Grass
For loose terrain like sand, gravel, or grass, a 10 to 12 inch wheel is ideal. Larger wheels provide better flotation and help you roll over soft surfaces, reducing the risk of getting stuck. Smaller 7 to 8 inch wheels tend to sink into soft ground, making your cart harder to maneuver. Understanding the wheelbarrow as a class 2 lever explains why the load sits between the axle and the handles, improving lifting efficiency for heavy cooler carts. For top-rated models, refer to Top Garden Carts Reviewed for easy shopping guidance. Before moving the loaded cart, it is crucial to check that all mounting hardware is tight and secure to prevent wobbling under stress.
Terrain type heavily influences tire choice. Sand requires wide, pneumatic tires for maximum air volume, which helps the wheels float and pass smoothly over loose material. Gravel benefits from puncture-resistant foam-filled tires that can withstand sharp stones without puncturing. For grass, larger all-terrain wheels are best—they help bridge dips and absorb bumps, making moving over uneven turf easier.
Load capacity is also important. Steel rims and sturdy axles are necessary if you’ll carry heavy loads across these terrains. For mixed surfaces, select a wheel size from 10 to 12 inches with an aggressive tread pattern, ensuring versatility across different ground conditions. Matching your wheel and tire choice to your primary terrain will improve performance and prevent frustrating stalls or drag.
Build a Plywood or Metal Frame That Fits Your YETI
To build a frame that fits your YETI precisely, start by measuring the cooler’s outside dimensions. Include handles and hinge overhangs, as models range from about 21 inches long to over 63 inches. Accurate measurements are essential, as they determine every cut you make. For a plywood frame, create a deck that matches these measurements and add a 2×4 base underneath for support. Use exterior-grade plywood to withstand weather and seal all edges thoroughly to prevent water damage. If you want a wheeled solution that doubles as a sturdy platform, consider basing your design on the same principles as best bicycles with rear racks, which balance load support and durability. A similar focus on cargo capacity ensures your cart can handle heavy ice chests without structural failure. If you prefer a metal frame, weld steel or aluminum angle into a rectangle that clears your cooler’s widest points. Adding cross braces underneath the floor helps prevent sagging over time. The choice of material—plywood or metal—affects your tools and finishing process. Whichever option you choose, size the base rail slightly larger than your cooler to make placement easier and ensure a snug fit. For securing the cooler during transport, use top ratchet straps to hold it firmly in place.
How to Secure the Cooler So It Doesn’t Slide or Tip
To secure the cooler so it doesn’t slide or tip, use four-point framing with hardware anchored directly to the cart frame, not trim. Run straps in a cross pattern across the cooler to control side loads during turns and prevent shifting. Choose cam-buckle straps for easy adjustment and consistent tension; tighten them enough that the cooler cannot move more than a small amount. Avoid loose straps, as they allow settling and shifting over time. Aim for strap angles between 45 and 60 degrees to better resist both lifting and sliding forces. After your initial move, retighten the straps to compensate for load settling and vibrations, ensuring continuous stability during transport. For maximum reliability, use straps with non-slip buckles to enhance security during transport.
Why Building a DIY Cooler Cart Beats Buying One
Building your own cooler cart is more cost-effective and customizable than buying one. A DIY cart typically costs between $25 and $40, whereas pre-made options can run up to $200. If you use scrap wood or repurposed materials, the cost drops below $15. By constructing the frame yourself, you can precisely measure and fit it to your cooler’s dimensions. This customized sizing prevents wobbling and ensures a snug fit, unlike many store-bought carts that often have loose or poorly fitted parts. You also have the freedom to design storage compartments for accessories, extra insulation, or other accessories that suit your needs. To make it mobile, install four swivel casters—locking them in place adds stability when needed. Since you build it from lumber, repairs are straightforward, and replacing a broken caster is simple compared to fixed or integrated wheels on prebuilt carts. Overall, a DIY cooler cart offers a better customization-to-cost ratio and the flexibility to tailor it exactly to your preferences without paying for unnecessary features. For additional strength, you can use load capacity calculations to ensure your frame supports your cooler and gear without failure. Properly securing the frame during assembly requires careful correct technique to avoid stripped screws and structural weakness.