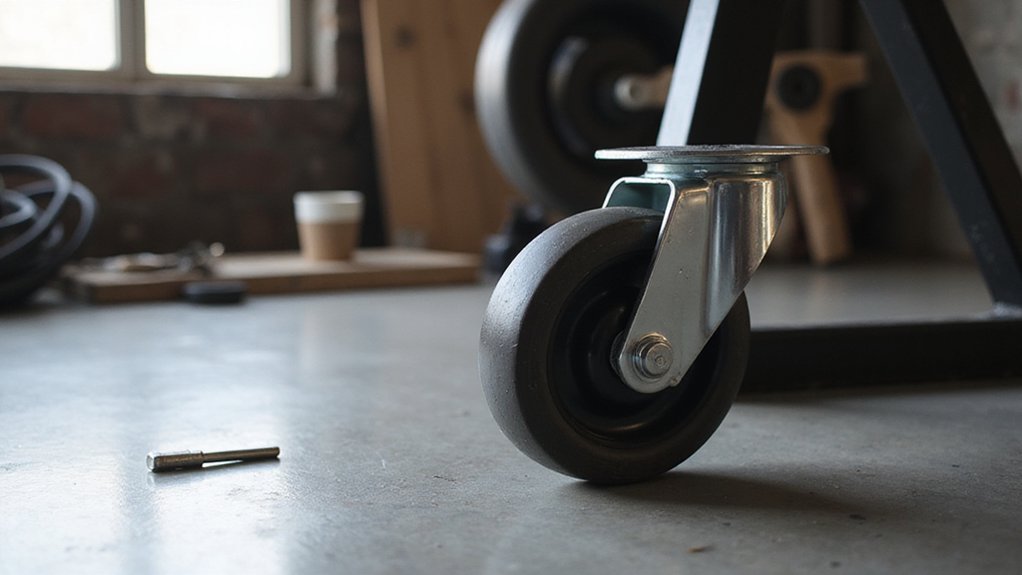
How to Remove Caster Wheels: Quick & Easy Instructions
If you need to swap out or remove caster wheels, you might wonder how to do it without damaging your furniture. The process varies depending on the type of mount, whether it’s secured with screws, push-in stems, or threaded stems.
In this guide, you’ll learn quick and simple steps for each type, so you can easily take off or replace your caster wheels.
Keep reading for clear instructions and helpful tips to get the job done right.
Identify Your Caster Type Before Removing It
Identifying your caster type before removing it is essential to prevent unnecessary damage and save time. Start by inspecting the mounting surface. Look for a flat plate with multiple bolt holes—that’s a plate mount. If you see a stem protruding from the caster, then you’re dealing with a stem or bolt-hole style. Next, determine if the caster is swivel or rigid: swivel casters rotate in the upper housing, while rigid ones only move forward and backward. For furniture that requires moving, using a furniture dolly can help transport heavy items without relying on casters.
Examine the stem carefully. Metal threads indicate a threaded stem, while smooth stems with a spring ring are grip ring styles. Expanding stems use a bolt-driven sleeve to secure the caster. Also, identify the caster material—plastic, rubber, or metal—as this influences the removal force needed. Matching the caster type to its mounting style before starting ensures you use the correct tools and method, reducing risk and streamlining the removal process. For a temporary alternative, you could instead create DIY furniture sliders from scrap materials to move furniture without casters. A similar safety check process can help confirm that all mounting hardware is secure before use.
Remove Plate-Mounted Casters With Screws or Bolts
To remove plate-mounted casters secured with screws or bolts, flip the furniture or equipment over and stabilize it on a flat surface to expose the mounting plate. Match your tool to the fastener: use a Phillips screwdriver for cross-head screws or a hex key or socket wrench for hex-head bolts. Loosen each fastener securing the plate—don’t skip any, as most plates are attached with four fasteners arranged in a square or rectangular pattern. If bolts pass through the plate, hold the bolt head while loosening the nut on the other side. For rusted hardware, apply penetrating lubricant and wait approximately 10 to 15 minutes before retrying. Use gradual force to avoid stripping the fasteners. Once all fasteners are loose, lift off the plate assembly. Inspect the mount for damage, which is an important step in caster maintenance. Save the hardware if you plan to reuse the same mounting pattern. Understanding the load capacity of your build is crucial before selecting replacement casters. This task differs from swapping a push versus pull wagon design, where wheel removal often requires different tools and access points. Checking for common failure points during inspection can help prevent premature breakdowns after the replacement.
Pull Out Push-In Stem Casters Without Breaking Anything
To remove push-in stem casters without damage, start by stabilizing the chair on a flat surface and flipping it upside down. Make sure all load is off the base to prevent bending the stem. Since these casters rely on friction or a grip ring inside a socket, pulling straight along the stem axis is crucial. Avoid yanking sideways, as this can deform or break the stem. If the caster feels stuck, gently wiggle it while pulling in a straight line. Use a flathead screwdriver wrapped in a cloth to protect the finish for leverage, and apply penetrating lubricant if it remains stubborn. Wait several minutes for the lubricant to work, then tap around the base with a rubber mallet to loosen the caster. Always apply steady pressure rather than jerking, and discontinue if the stem begins to deform. For tasks involving heavier furniture, building your own DIY moving straps can provide significant cost savings and better grip control. If you are considering alternatives for a mount vs tow hitch, remember that much like caster removal, proper alignment and the right tool for the job ensures no damage occurs. Remember to wear gloves and pad the floor to maintain safety throughout the process. Caster wheels are designed to support heavy loads while allowing easy movement in various applications.
Unscrew Threaded Stem Casters (Turn Counterclockwise)
To remove a threaded stem caster, start by gripping the caster’s hex section or yoke with an adjustable wrench—never just the wheel. Turn the stem counterclockwise with steady force to avoid stripping the threads. If the caster is stuck, apply caster lubricant around the stem and let it soak for 5 to 15 minutes to loosen the connection. A gentle tap with a rubber mallet can also help free any seized parts. Always secure the hand truck’s frame before applying force to prevent tipping or injury. A DIY utility cart typically uses the same threaded stem casters found on many small frames.
Continue turning until the threads fully disengage and the caster separates from the socket. Inspect the socket for debris or rust, then clean it thoroughly before installing a replacement. To prevent damage, avoid jerking motions and apply gradual torque during removal. A typical DIY ice cream push cart often uses threaded stem casters on its frame.
Inspect the Mount and Test Stability After Removal
After removing the old caster, thoroughly inspect the mount before installing a new one. Check the socket, plate, and bolt holes for cracks, elongation, or deformed threads. Clean away debris and rust to ensure the new caster seats properly. To simplify future removal, apply a light lubricant to the mounting points to prevent corrosion buildup. For beach cart applications, upgrading to large pneumatic wheels provides superior flotation over soft sand.
Next, perform stability testing. Keep the furniture supported on blocks and gently shake the frame. Do not lower the item until you check for wobble, rocking, or side-to-side movement. Press down at each corner and push sideways at the top to assess stability. If you notice cracks, persistent wobble, or split hardware, stop—the mount may need repairs before remounting. After any movement, retest to confirm that the furniture remains stable. For reference, understanding the right number of wheelbarrows for transporting materials in your yard can help you efficiently move debris or new hardware.