How to Tie Down 2 Kayaks on a Roof Rack Safely
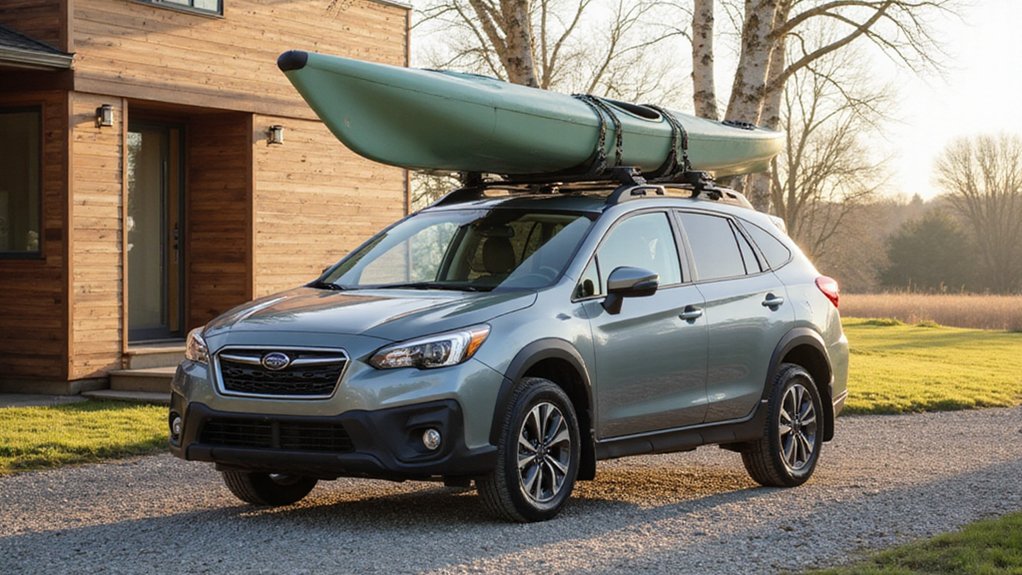
Storing and transporting two kayaks on your roof rack might seem tricky, but with the right setup, you can do it safely and securely. The key is knowing how to position, strap, and balance them properly so they stay put during your ride.
When done right, you’ll avoid hull damage and ensure a smooth trip.
In this guide, you’ll learn the best way to tie down kayaks on a roof rack, including crucial steps and common mistakes to avoid.
Keep reading to see how you can confidently secure your kayaks for any adventure.
Best Roof Rack Setup for Two Kayaks
Using crossbars spaced between 28 and 32 inches apart provides balanced support for two kayaks, which is crucial for stability during transport. For longer boats, spacing can extend up to 48 inches, but wider spacing can increase support and reduce kayak movement. Keep in mind that wider spacing may impede access to features like your sunroof or roof storage, so consider your vehicle’s configuration. For those who also tow, a bed extender can similarly secure kayaks in the truck bed as an alternative to roof transport. If you are headed to the shore, a collapsible beach wagon can help haul your gear across sand after you arrive. Choosing the right model ensures you get value from your purchase without compromising on durability or performance.
Choose your carrier style based on your kayaking habits and vehicle compatibility. J-style racks are ideal because they angle each kayak upward, which offers better wind resistance and frees up crossbar space. Stacker-style carriers are suitable for narrow kayaks sharing crossbars but require verification that your vehicle can handle the load and width.
Always check your owner’s manual for the roof load limit, including the weight of your kayaks and hardware. A higher-capacity crossbar system provides added safety for transporting two kayaks regularly, allowing for extra margin during road maneuvers like braking or in strong crosswinds. Proper spacing and load capacity ensure your gear stays secure and your vehicle remains stable.
How to Position and Stack Kayaks Without Hull Damage
Positioning and stacking kayaks correctly is crucial to prevent hull damage during transport. Start by aligning each kayak parallel to your vehicle, centering them on the crossbars for proper rack alignment and even weight distribution. When stacking, place the first kayak right side up on the support system and invert the second kayak on top, or interlock their shapes to avoid hard contact between hulls. Always ensure support points contact reinforced areas like bulkheads rather than delicate hull surfaces. Leave a small gap or add padding between hulls to absorb road vibrations and reduce abrasion risks. Never let cockpit rims or hardware press directly against other surfaces. Use saddles or cradles designed to match your kayak’s structure, spreading the load evenly and preventing pressure dents. Prioritize hull support by aligning contact points with reinforced areas and providing ample padding where needed. For added security, choose a wagon beach rack system known for quality and performance to help stabilize your load. Additionally, using high-quality ratchet straps ensures a tight, vibration-resistant hold that protects both kayaks during transit. For heavier kayak loads, consider a Class 4 receiver hitch to provide superior towing capacity and stability for gear racks.
Where and How Tight to Place Cam Straps
Place cam straps around the crossbar itself, not just over the kayak, to prevent slipping during transit. For proper strap placement, route each strap inside the rack towers if possible; this reduces side-slippage. On J-cradles, secure the strap around the carrier’s rear side. Position the buckle near the kayak so you can easily reach it, then pull the tail downward to engage the cam. Before loading onto the roof, place the kayak on a padded surface to avoid scratching the hull.
Use only hand tension when tightening straps—crank until the kayak feels firmly held and does not shift when you shake it. Stop tightening before the hull shows any visible deformation. You should see only slight compression when pressing by hand. Distribute straps evenly across both crossbars to ensure uniform pressure. For especially heavy or awkward loads, consider using furniture dollies for ground-level transport before loading. Once secured, wrap any excess strap to prevent flapping during transport. If your straps lack built-in padding, add soft carpet sliders under the contact points to protect the kayak’s finish from abrasion.
Why Bow and Stern Lines Matter (And When to Use Them)
Bow and stern lines are essential for secure kayak transportation, especially in challenging conditions. While cam straps hold your kayak side to side, they don’t prevent fore‑and‑aft movement. Bow and stern lines resist the upward lift caused by wind gusts and the rearward slide that speeds and turbulence create. Without them, the kayak material—whether polyethylene, fiberglass, or composite—can flex dangerously under continuous pressure, risking damage or loss. Just as a two-wheel wheelbarrow requires careful weight distribution to maintain stability on uneven terrain, these lines provide critical fore-and-aft restraint for your kayak.
Use these lines whenever you encounter high winds, heavy crosswinds, or turbulence from passing trucks. They are also necessary during highway driving, long trips, or if your kayak extends beyond the rack’s contact points. Always attach bow and stern lines to rated vehicle points and avoid plastic panels, which aren’t designed for tie-downs. Snug, but not overtight, lines help reduce pitching and act as a backup if cam straps loosen. For short, slow trips, they are optional, but for safe, stable transport at speed, bow and stern lines are non-negotiable. When selecting your primary tie-downs, consider top cam straps that offer both security and ease of use.
5 Kayak Tie-Down Mistakes That Cause Trouble?
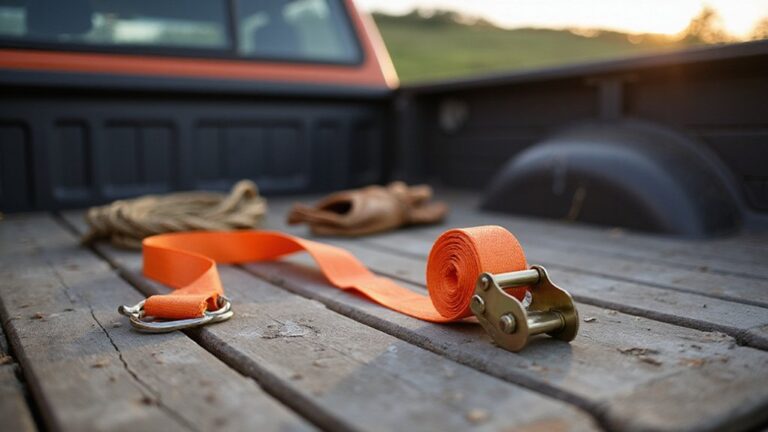
Even if you’ve cinched those cam straps tight, a few common missteps can turn your secure setup into a hazard on the road. First, avoid using ratchet straps—they tend to over-compress hulls, potentially causing damage. Instead, opt for cam buckle straps, which allow controlled tension without risking hull deformation. Understanding the lever mechanics of a cam buckle helps you apply consistent force without over-tightening, much like the simple machine principles that make a wheelbarrow efficient for lifting heavy loads. Proper routing of the straps is essential: always loop them through the crossbar rather than just over padding. This prevents side-load failure and distributes pressure evenly. Make sure the webbing isn’t flapping loose by securing the ends with Velcro or similar fasteners, which helps reduce wind noise and prevents abrasion. Center your kayak on the roof bars to maintain balance, and steer clear of hanging the hull too far forward or aft, as this can affect vehicle handling. Lastly, regularly inspect your straps for fraying or wear and re-tighten them after a short drive. These simple checks and adjustments help keep your kayak firmly secured without risking damage during transit. For additional gear organization, consider using rolling carts with shelves to transport accessories from vehicle to launch site. Using a beach cart with wheels can make moving heavy gear across sand much easier.
How Tight Should Kayak Straps Be?
Your kayak straps should be tight enough to prevent shifting, sliding, or rocking on the roof rack but not so tight that they flatten or distort the hull. The key is to find a balance based on your kayak’s material. Softer recreational hulls deform more easily, so they need slightly less tension, while rigid composite hulls can handle more pressure without damage. For a helpful comparison, a Garden Way cart demonstrates how balanced load distribution prevents damage to transported items. Similarly, a beach wagon designed for sandy adventures uses sturdy wheels and a stable frame to keep cargo secure without excessive force. Thule roof racks often feature integrated gutter systems that enhance stability for kayak transport.
Aim for a firm hold that allows slight compression under hand pressure. If you see visible indentations on the hull, you’ve tightened too much. Tighten each strap evenly, front and rear, to keep the kayak centered and prevent tilting. To test your tension, push firmly from the side—the kayak should stay put without movement. Using a twist in the strap can prevent humming noise during transport.
Ensure the buckles close easily without requiring excessive force. After securing the straps, a short drive checks that everything remains stable. Remember, snug and secure always beats over-tightening, which risks damaging your kayak or compromising safety.
What to Check Before Hitting the Highway
Ensure your roof rack and vehicle roof load ratings can support the combined weight of your kayaks before hitting the highway. Confirm crossbars are positioned at least two feet apart to provide proper support and prevent movement. Fully tighten all hardware to avoid loosening during transit, and check that the load is evenly balanced side to side and front to back. Perform a firm shake test—if the rack and kayaks move as a single unit, you have secured everything correctly. To further prevent load shifting, always position your straps over the kayak’s strongest structural points, not over hatches or fragile deck hardware, and apply tension evenly using a smooth pulling motion that avoids abrupt jerks. If your vehicle requires a different receiver size than your accessories, you may need a hitch adapter to ensure a secure connection.
How to Inspect Your Setup During Long Drives
During long drives, you should inspect your tie-downs after the first five to fifteen minutes of travel. During this initial stretch, straps and knots tend to settle, so checking early helps ensure everything remains secure. Pull over at a rest stop and thoroughly inspect each tie-down. Cam straps must stay snug; loose tails that flap can reduce vehicle aerodynamics and cause fraying. Give each kayak a firm shake—if it shifts, you need to re-tension. Also, check crossbars, cradles, and bow and stern lines for any signs of loosening. If you’re carrying gear inside your vehicle, this is a good time to verify that everything is secured properly as well.
Set a second inspection after your first highway segment, then repeat every 2 to 3 hours or after traveling 50 to 100 miles. Temperature changes, especially on descents, can affect strap tension, making rechecks essential. Taking a few minutes now can prevent major problems later, ensuring your load stays safe and secure throughout the journey.
How to Re-Tie After Windy Roads or Rough Terrain
After an initial tie-down, you must re-tie the kayak straps whenever you encounter high winds, steep grades, gravel roads, potholes, or washboard surfaces. Rough terrain tends to loosen cam straps and move buckle positions, so check for visible slack immediately after passing through such conditions. Proper tension means the webbing lies flat and remains untwisted; twisted straps vibrate and loosen more quickly. Twisting straps actually prevents noise and vibration caused by wind, so ensure they are not twisted for optimal stability.
If the kayak has shifted even slightly, re-seat it dead-center on the rack before readjusting the straps. Loop crossbar straps around solid bars rather than plastic trim, ensuring a secure hold. Use a shove-test: gently push on the kayak—minimal movement confirms it’s tight enough.
Re-tension the bow and stern lines as well, since they help control yaw over bumps and uneven roads. Loose tails can whip in the wind, so secure them firmly. Remember to repeat this checking routine every fuel stop or whenever the driving conditions change. Don’t rely on the initial tightness alone; continuous, active checking is essential to keep your kayak safely in place.